I am still working on the costume, so I thought I would post the bits I get finished up as I get them done. The beading on the arms was posted here.
So…
The jacket is just a hodge podge of layers that are difficult to discern how they would all be sewn together…and why. I had to look at several different pictures to try to figure out all the different pieces on the jacket and how they all went together.

I printed off a bunch of pictures from different angles, and started on the back pattern pieces, working my way towards to the front. Then I left it a day or so, and cut out the pieces.
It was a lot of pieces.

They *mostly* matched up. Drafting your own patterns is a bit of trial and error. Make sure you have extra fabric, just in case. This jacket is many different pattern pieces, as some of them overlap.
 Oh, and by the way, the jacket, hood and vest may have been intended to be made in bleached deerskin. Yeah. Not happening. I got some off-white linen (2.5 yds) and blue linen (2 yds). There was a little bit left of each fabric when I was done cutting, so my estimates were pretty on par with what I needed.
 The hood on the jacket is removable. It is attached at the buttons on the collar. I used some stiff interfacing for the collar, front placket and the point on the hood.
The upper yokes are edged in leather, and it is all one piece. On the photos it looks like the main body of the jacket is separate from the arms, with some blue at the upper arm. I didn’t keep this part true to the original, as I wasn’t sure what purpose it really served other than being a pain in the ass.
The buttons were all purchased at Pacific Trimmings. I think I got them close to looking like the ones on the character. The ones I couldn’t see up close I just chose simple ones that looked like they *could* be made in that period.
When I finally got to the point of putting in buttonholes, I was half thinking of just sewing them on top and not doing buttonholes. The next morning I had more energy, so I plowed through and made ALL those buttonholes. There were a lot.
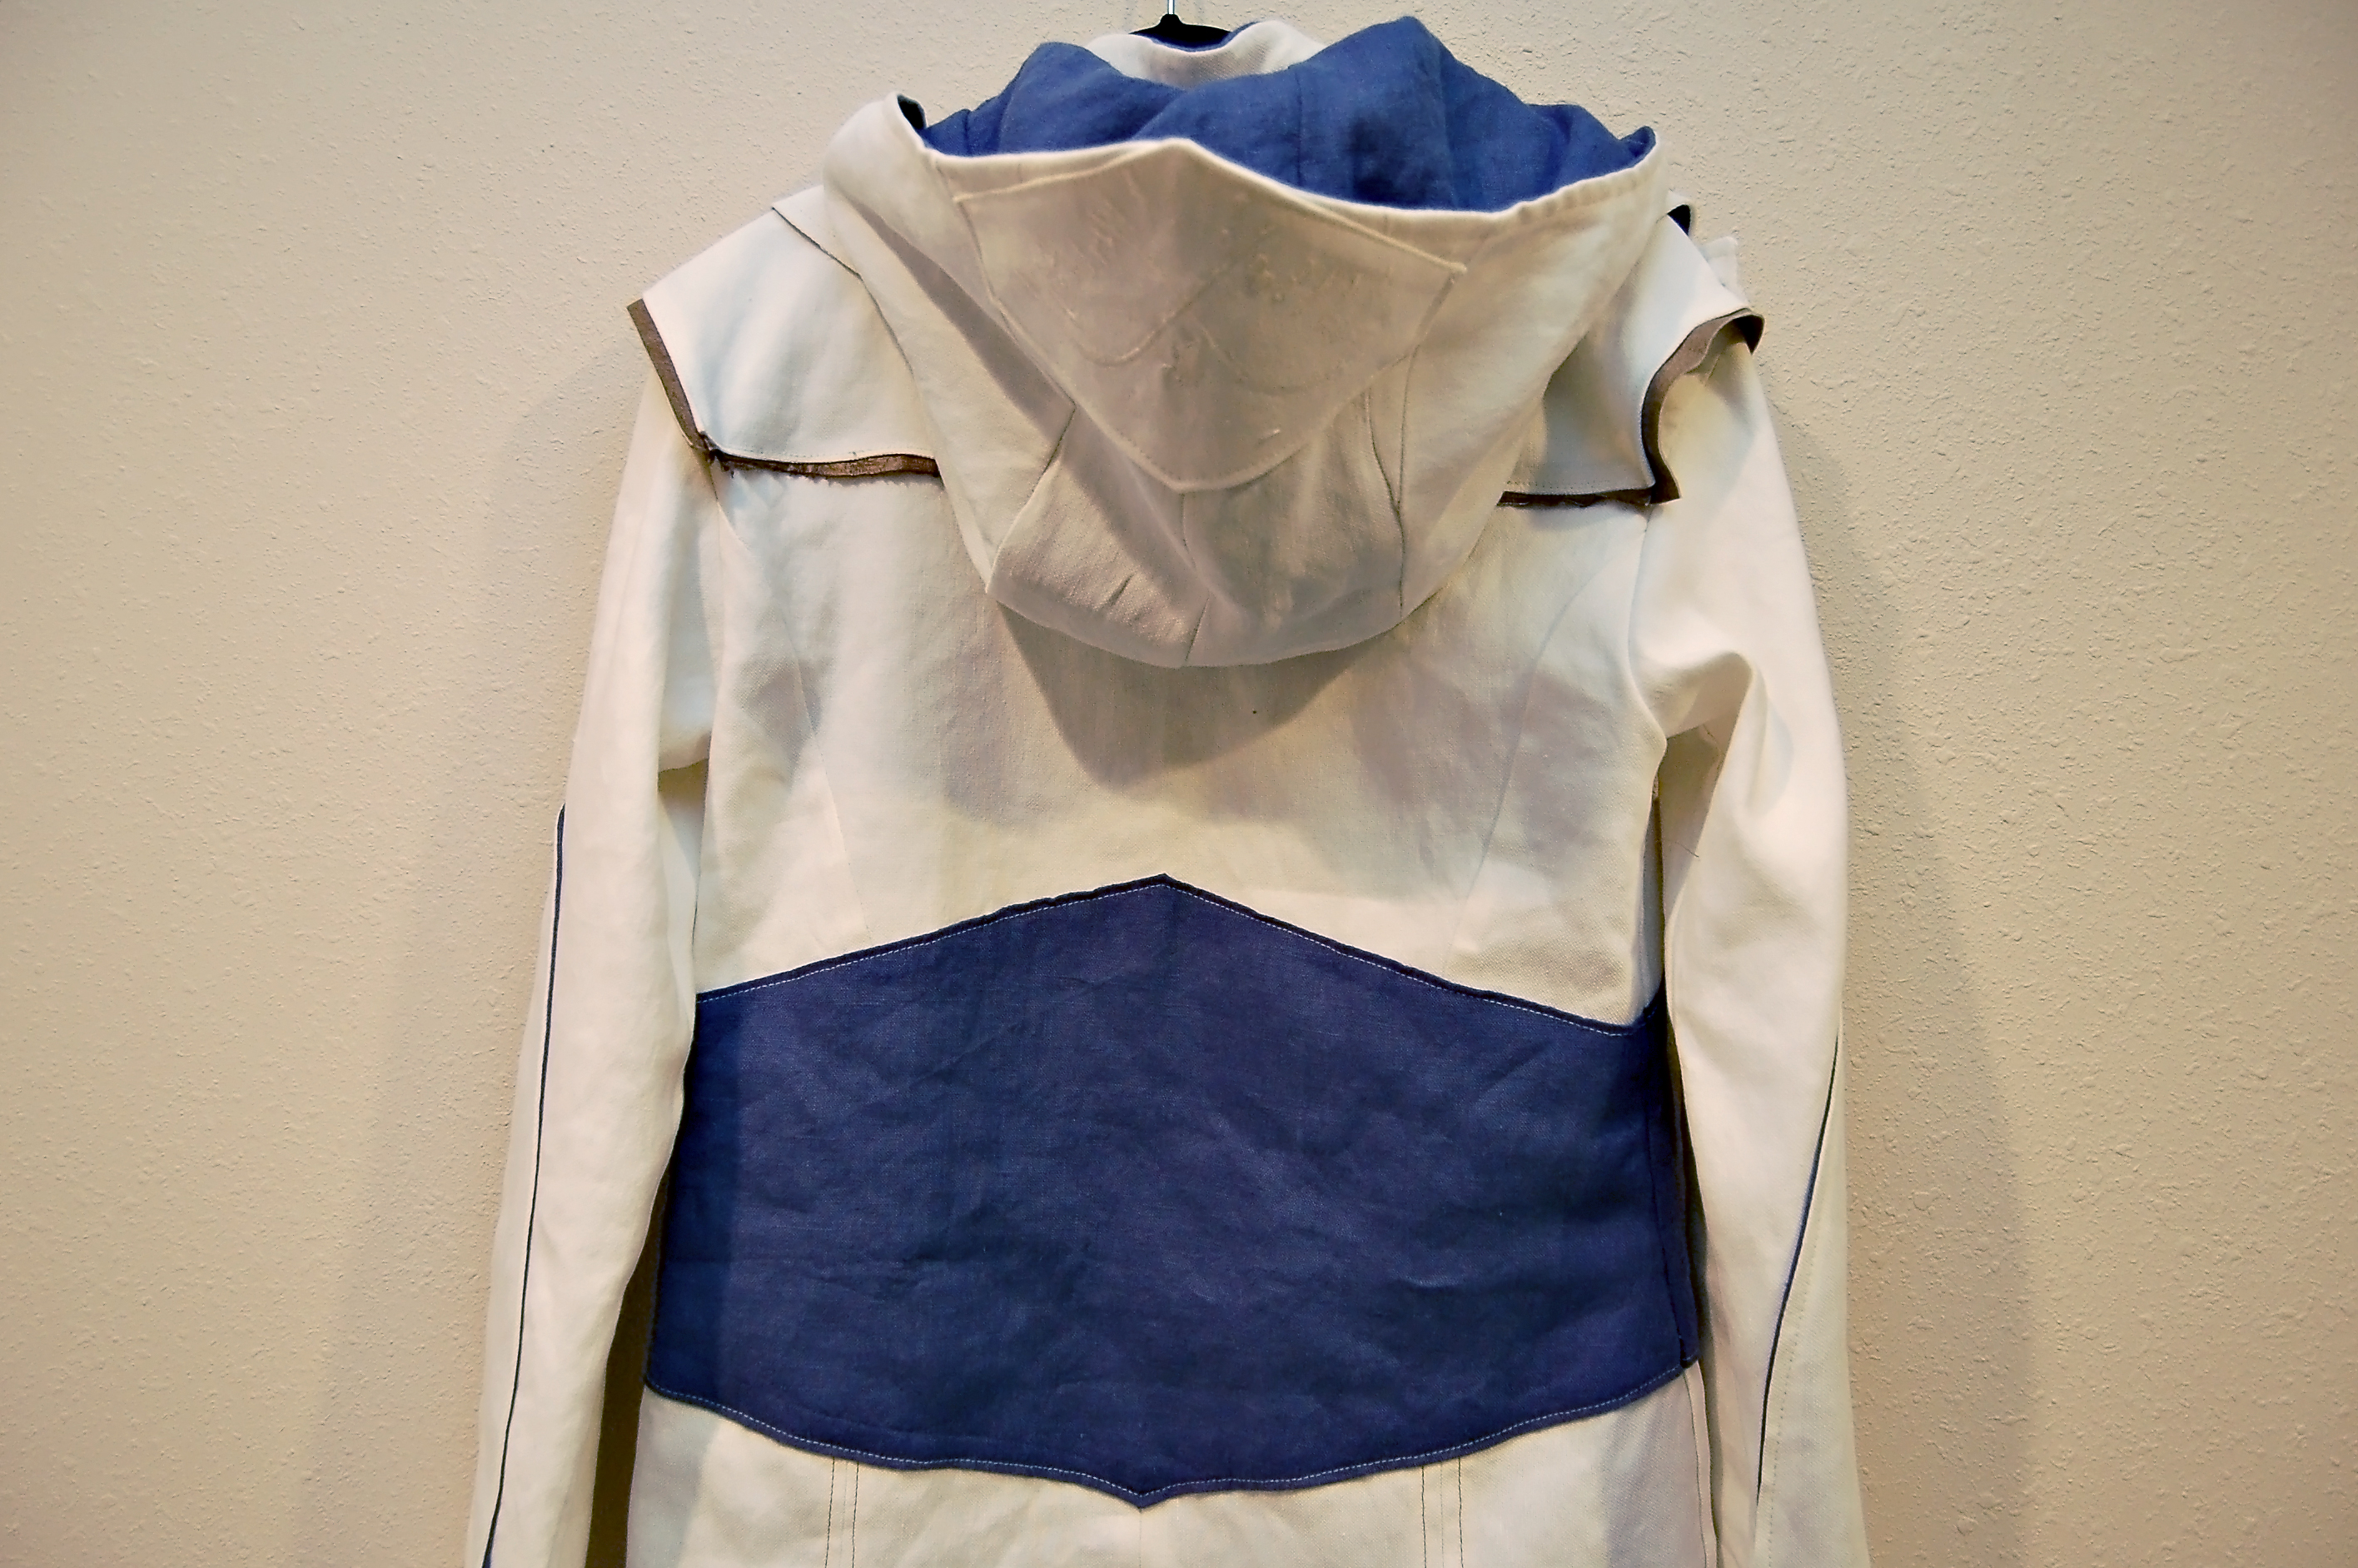
 The back of the jacket has three layers on the bottom. A blue under layer, the split cream top and then the blue over-layer on the bottom. This layer wraps around to the front and into the lapels.

 The arms are cut in different pieces on the character, but I just put a faux seam down the middle instead of cutting the pieces. I am not sure of the placement of the elbow patches and the buttons. I tried to get it close to the pictures I found online.

 It is fully lined. I only had to really cut two lining pieces (upper back and arms), as the rest is mostly self lined from how the pieces go together.
 The hood has a Thunderbird on the point.
 I cut out a bit of linen, interfaced it and then I drew the bird on the interfaced side. I stitched the sketch out with a satin stitch on my sewing machine. The head I hand-stitched. I used a shiny thread for it, too.

 The jacket is obviously far too pristine and white, so when it warms up a bit I am going to rub it around in the kids’ sandbox to dirty it up.
Next up are the pants and the vest.


I’m your newest follower 🙂
This looks like quite the challenge with lots of fun details!
Thanks Rachel! 🙂 Sorry to move things, but I was just getting more traffic and with my kids names on there I wanted to have a separate site.
The jacket was a big challenge, which was why I procrastinated so long! I have had the fabric for months and knew he wanted it last year. Now I need to try to get the rest of the outfit done and the accessories. Lots to do yet!