This is a semi-tutorial.
I got some pictures, but usually when I sit down at my machine, all thoughts of pictures go out the window as I am sewing. This shows the process moreso.
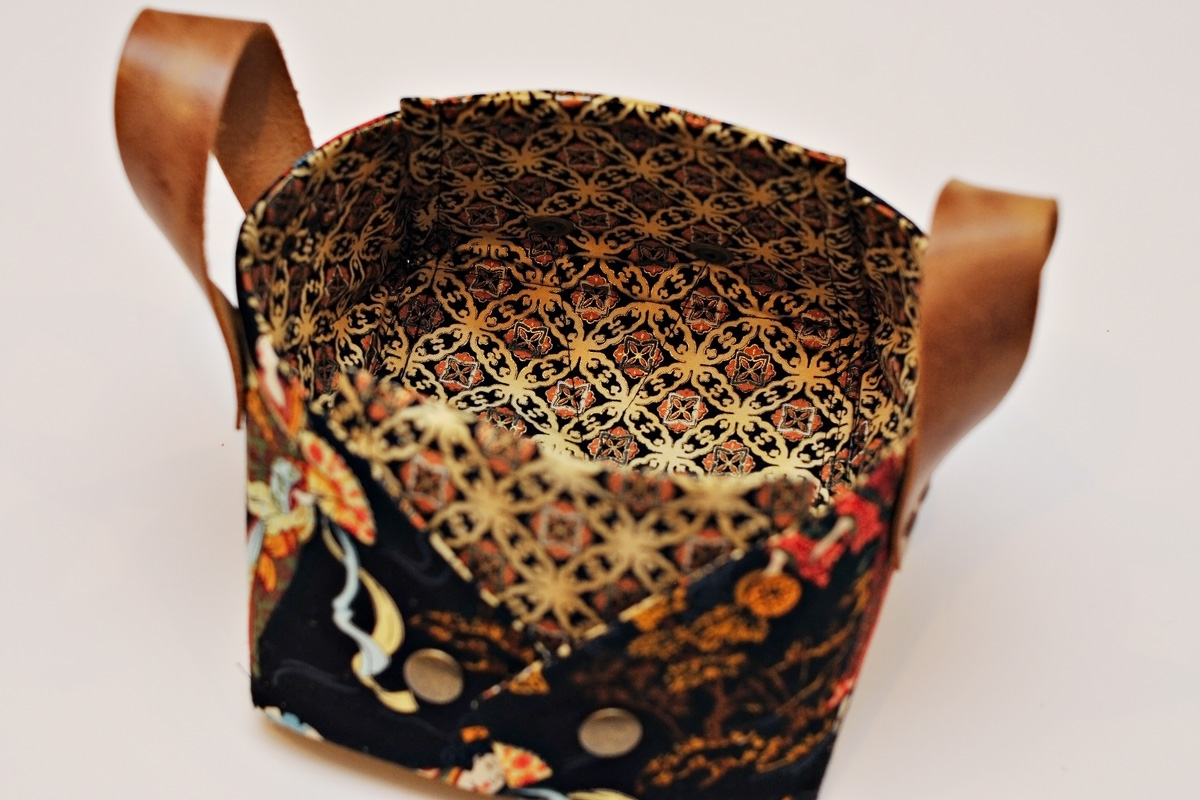
The 52 Week Sewing Challenge group has for this week’s challenge Sew Something to Make Sewing Easier. This was a head scratcher for me, but then some ideas came up in different threads and I thought having something to corral my many pattern weights was a good idea.
I looked at some fabric boxes on Pinterest and came up with this one here.

It needed to be pretty firm and have solid handles, so I used the heavy Peltex and leather for the handles.
This is one that you should be able to undo and lay flat. I say “should” because my snaps were not cooperating, so I ended up just pounding them together with a hammer. No easy unsnapping for this thing. I need to get a better snap setter.
So…process:
- I set all my pattern weights in a pile on top of some paper to get an idea of what size base I needed. From there I decided on the height for the sides and added that on two sides of the base. To get this type of form, you need to have a separate piece for the other sides. I should have made the wrap a little shorter, as they do overlap a bit. I just put the papers together and figured out what I wanted and adjusted, as needed.

2. Cut out 4 of each side piece and 2 of the bottom pieces, plus the Peltex (1 of the base and 2 of each side). I put in the Peltex after sewing up, so it needed to be smaller than the pattern piece.


3. Sew up the side pieces together, leaving the bottom open. Sew up the sides on the base piece leaving an opening large enough for the tab from the other sides to fit in.


4. Put the Peltex in each side and the base. Make some stabilizing stitches around and across the sides. Stick the side tabs into the base piece, stitch across and then go across the base to stabilize the Peltex. This keeps it from shifting around.


5. Now turn the flaps in and figure out where to put the post snaps. Mark the spots and make holes. I use a hole punch for the holes.


6. Now cut out two pieces of sturdy leather (these are 1″ x 8″), put in two holes on each and set rivets in them. I again used my hole punch.


All done! I filled it up with my pattern weights and it worked really well.


Comments are closed.