The boy is one of those lucky kids who has a December birthday (I am, as well), so he gets many gifts and being a teen it is harder and harder to figure out what to get him other than an Xbox giftcard.
I ran across this book at Barnes and Noble, so I got that for him and then decided he would get an awesome AC III inspired hoodie to go with it.

So…
I started looking at Pinterest and all the cool AC inspired hoodies that are pinned over there. I didn’t want one that was too overt with tails and epaulets and all. I decided to use the Herbert Hoodie by Wardrobe by Me for the base. This is a looser fitting hoodie, so all the seaming in the back shouldn’t be annoying.
I also made my very first You Tube video for the project, so if you want to hear my voice and see my sewing room, check it out. I took the video about 5 times before I got a version I liked. I finally had to lock the cat out of my room since he figured it was petting time and was being annoying. 😉

This is all the pieces cut out of bamboo fleece from Nature’s Fabrics.
I didn’t buy enough of the blue…only a half yard…so a few things are cut across the grain. I would have cut the back “A” on the fold if I had purchased a yard. It was taller than 18″.

The back required a lot of basting stitches before serging. When sewing the curves and the angles you have to be pretty precise, so just taking it to the serger and going for it is just not recommended.


How I approached these seams, was putting them next to each other prior to pinning and marking where they met up with some chalk. This just takes the place of putting notches in the fabric, and it really helped to line up the curves correctly.


The points in the fabric were done similar to doing a V-neck. You clip the inside point to the seam allowance and then sew each side of the triangle point separately to the edge right up to the clipped line. You don’t sew right up to the edge of the point, but leave a seam allowance width.

After I sewed the basting stitches I went over them with the serger. There were a few places were the serger messed up, so I had to seam rip in a few places. I then ironed down all the seams and top-stitched.
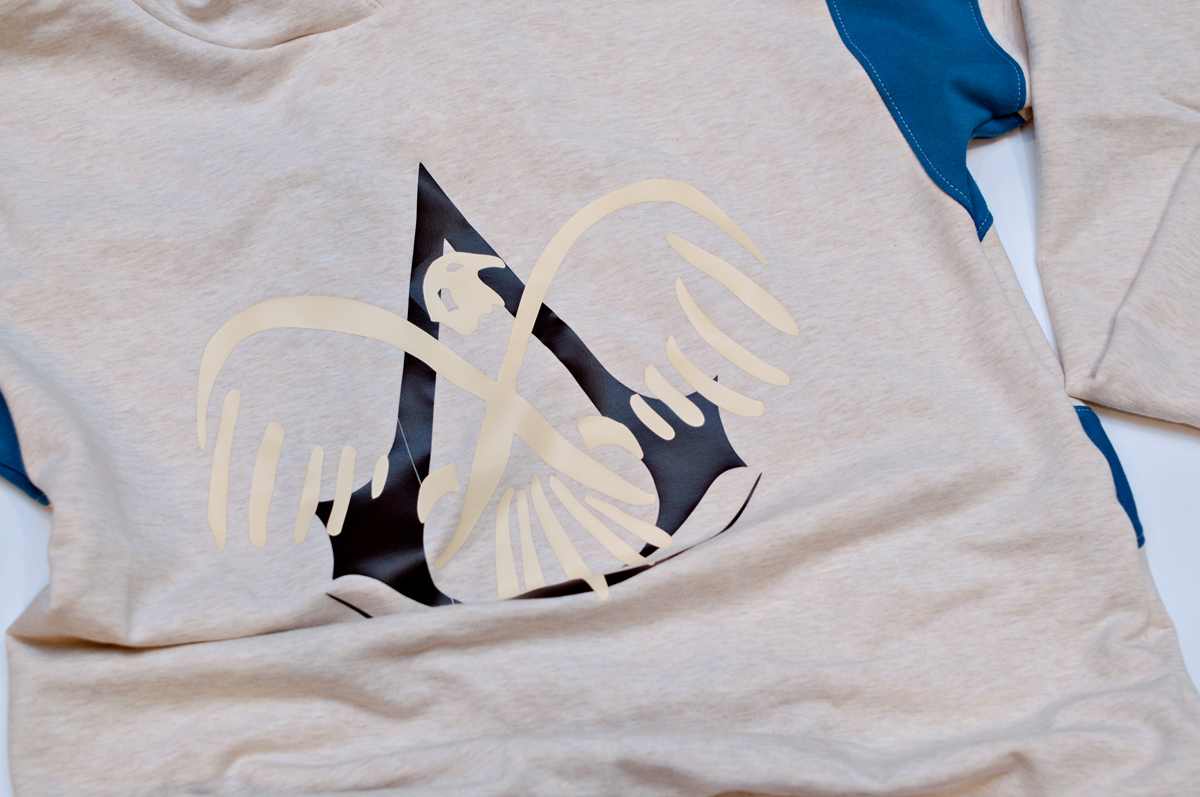
I drew the thunderbird that matches the hood design for the character. Let’s just ignore the fact that I forgot to mirror it and it is facing the wrong direction. Story of my life. I need to put a sticker that says “Did you mirror??” on my machine where I load the mat.
The AC logo is actually in pieces since I was just using what I had for vinyl. I think I need to buy more vinyl.
The hood is put together by first attaching the triangles, and then attaching the sides. I put some interfacing at the point, and then did a long straight stitch seam on either side of the point before serging the rest of the seam. Clip the point, turn right sides out, and then attach to the hood body.


The rest of the creation was pretty standard.
- Sew the shoulders together, matching up to the blue/cream seam separations.
- Attach the hood, with about a 1.5″ overlap.
- Attach the arms
- Sew the side seams
- Sew up the sides of the wrist and waist bands, fold over and attach to the ends of the arms and at the body waist.


Done!
Sorry I didn’t get a lot of pictures in making this thing, but keep in mind that I couldn’t take pictures of Everything or it would have taken me forever and a day. When I was putting the back together I got in a groove and forgot to get pictures. I didn’t have a lot of time since I waited until the last minute to get this done (again). The main points in making this, is that you need to baste stitch, serge, then topstitch those seams. Otherwise, it will be a hot mess inside.


Now I just need to wrap it up for his birthday tomorrow! I’ll edit this post with pictures of him wearing it when I get pictures. 🙂
Edit: Worn pics…he loved it! 🙂


I hope he loves it! Great job with all the tricky seaming!
He did love it…thanks!