As part of a charity project for the kids at the Pine Ridge Indian Reservation, we had a specific challenge to get some boy gifts made up. Since my son has a ton of little cars, this was the perfect gift. I went through the big bin and picked out cars that looked new.
It wasn’t hard. These are worse than bunnies with how frequently they procreate.

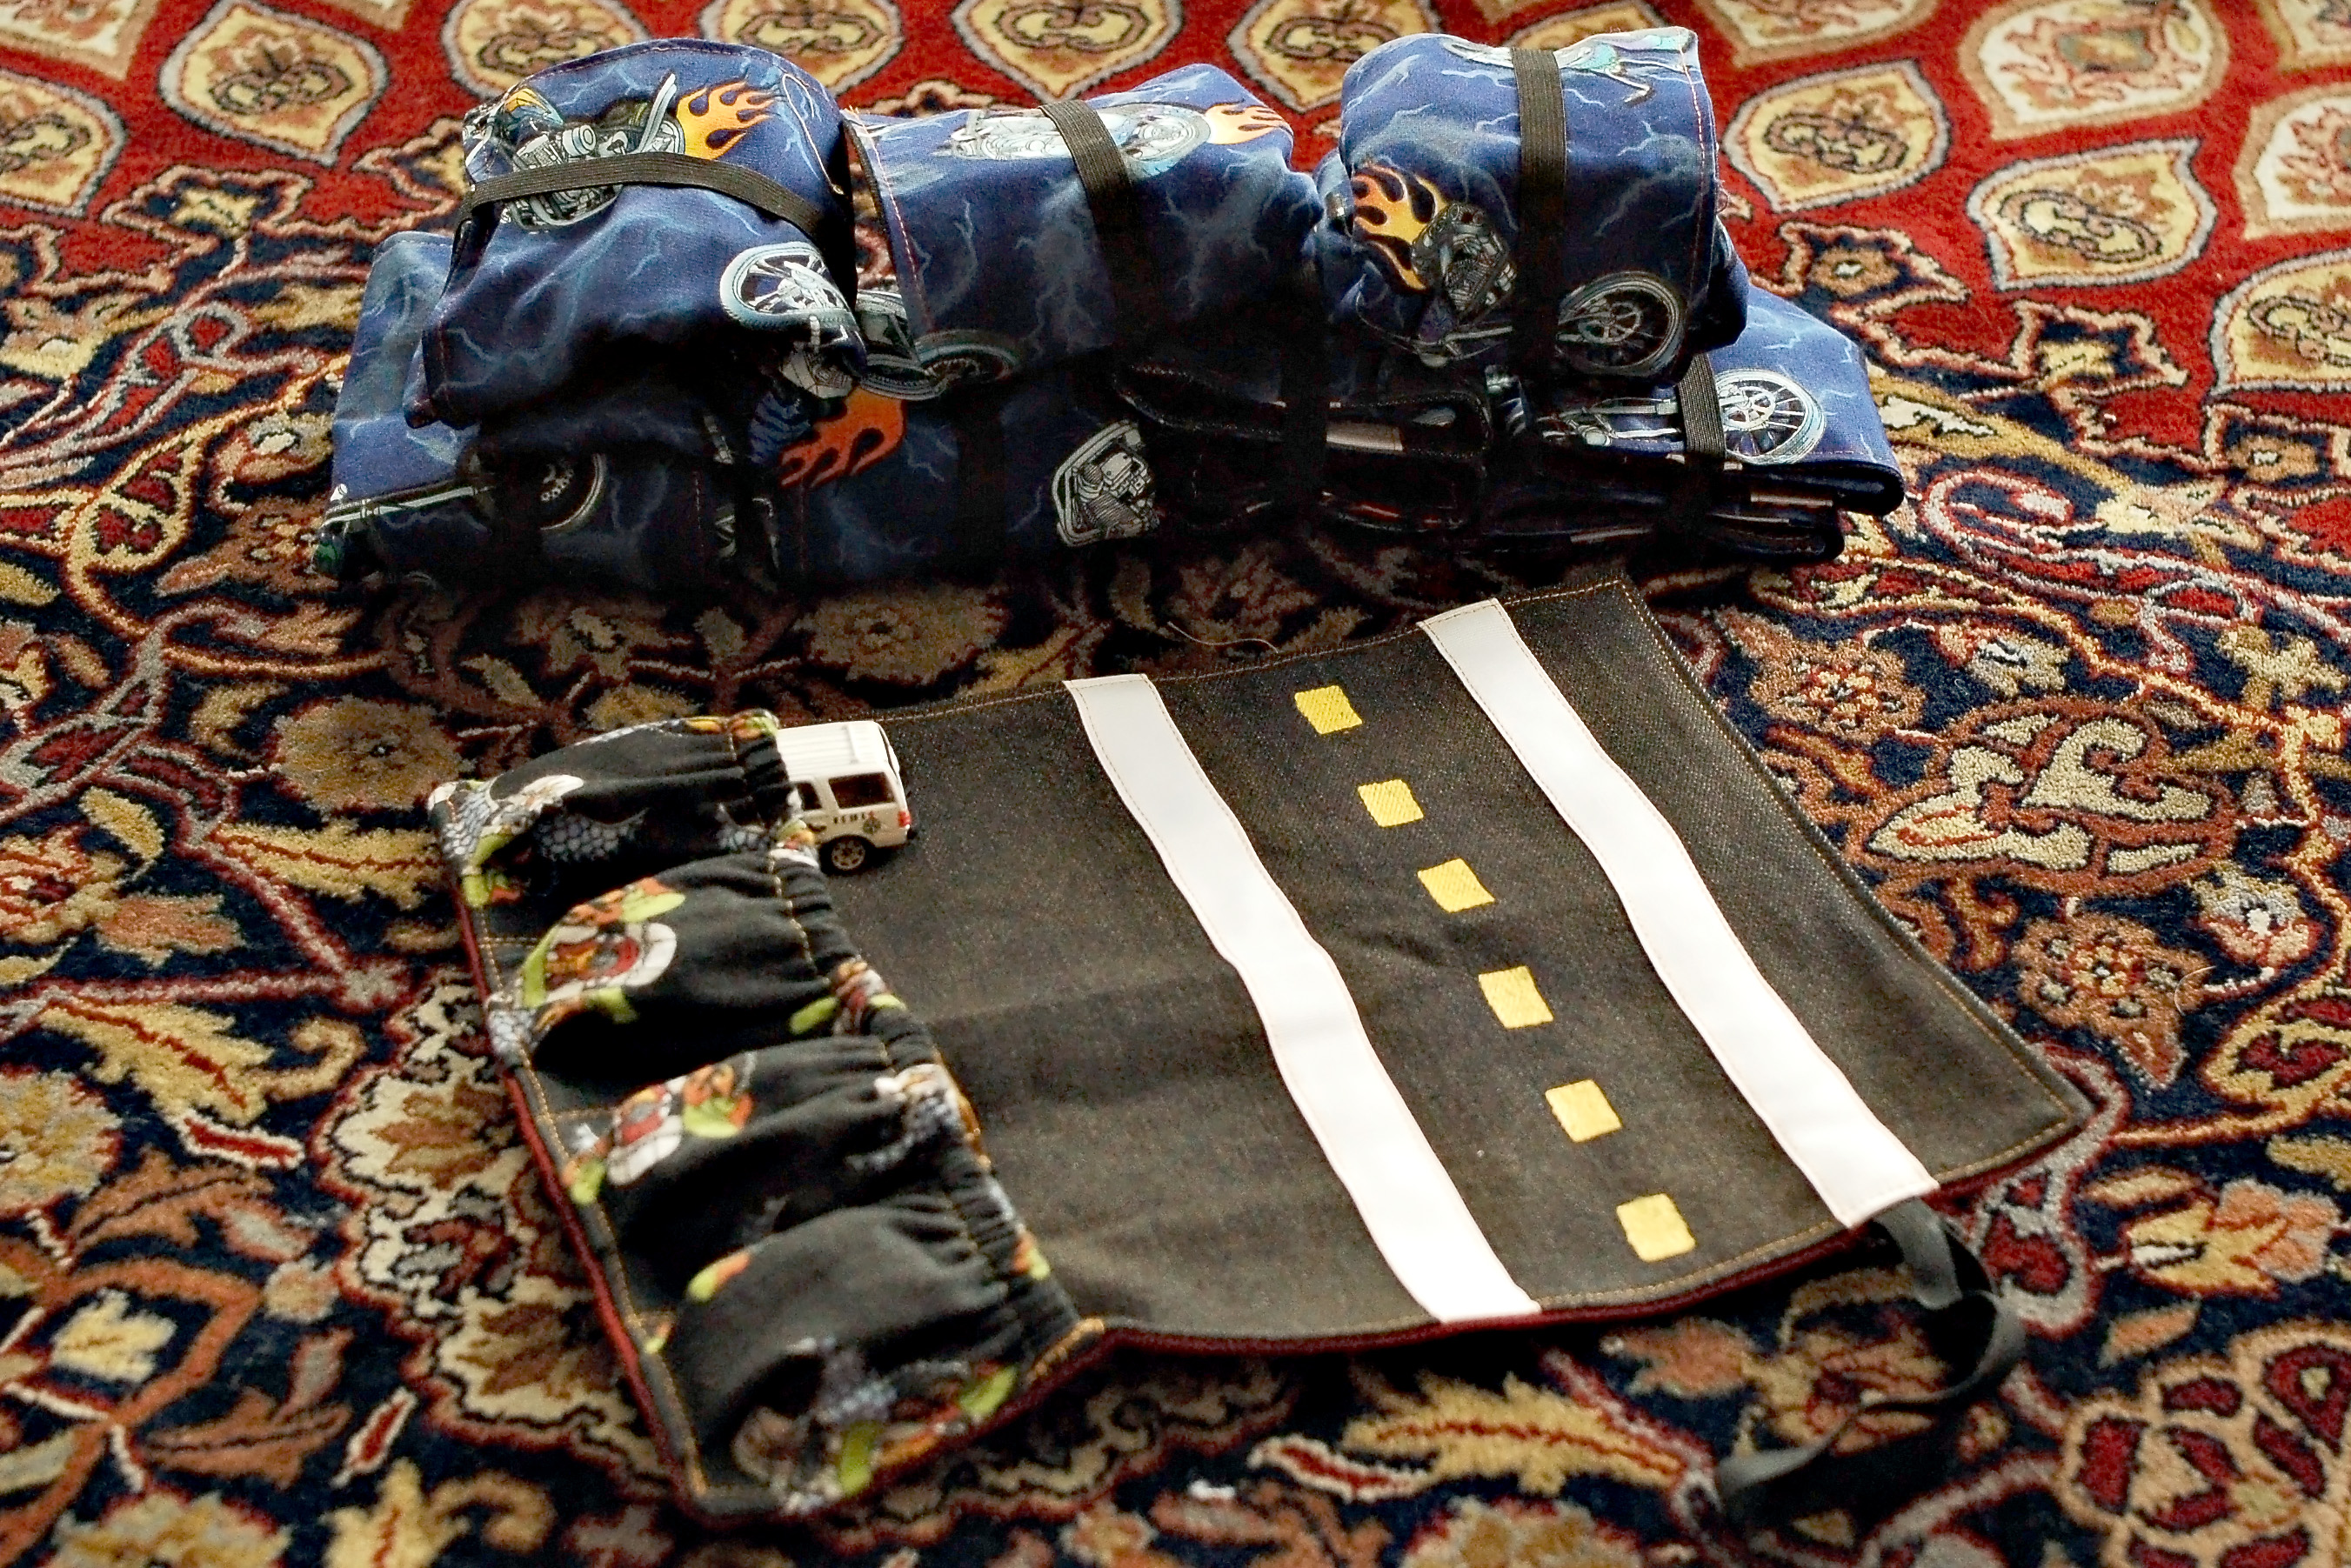
Here is a tutorial for a car carrier.
Cut out two pieces of 11″ x 14″
Cut out one piece 8″ x 20″
Cut out two pieces of elastic – 12″ long each
Cut two pieces of white ribbon – 11″ long each
- With the one piece, fold it lengthwise and iron flat.

2. Fold in half and then half again. Press. This gives you the spots to sew.

3. Sew a channel 1/2″ wide along the folded edge.
4. Fold the main body piece in half and then half again. Press. Match up the pieces along the edge where the folds meet. Pleat them in the middle with the excess fabric.


5. Sew up to the channel on each fold. You will be threading the elastic through, so make sure you don’t sew over the channel.


6. Thread the elastic through the channel, and then sew the edges down.


 7. Lay out the ribbon on the opposite edge at 2″ and 6″ from the edge. Sew them down on both sides to secure.
 8. Fold the other piece of elastic in half and lay down on one side of the ribbon. Sew it down.

9. Now lay the backside fabric over the top with right sides together. Sew around the edge leaving an opening to turn it through.


10. Turn it right sides out and iron it flat. Topstitch around the edge.
11. Take a piece of freezer paper and fold it over until it is small. Then, cut a small square out of it with a scissors or exacto knife.


12. Unfold the paper and center the stripes between the ribbon. Iron it down onto the fabric.

13. Stipple fabric paint in between the lines. Apply as much as needed to create nice lines, and then pull off the paper right away.


 14. When dry, iron the fabric paint to set it.
All done!
Put the cars in the “garage” and fold up.


 I made eight of these little guys. I still have some cars left over even! (Surprising, I know. 😉 )


Fun/cute project and 8 is very generous of you!
Thanks, Rachel!
Thank you for making this tutorial! Great job!
Thank you, and I hope you find it useful! 🙂