As I am having so much fun making up my designs into repeat patterns, I thought I would go into a little of how I create them.
I start out by drawing a design by hand.

Once my design is all done, I take a picture of it and bring it into Photoshop. I delete the background to make sure it is just black and white and then save as a .jpg.

I take that file into Illustrator, trace it, and then save it as a .pdf. Make sure to click on the “ignore white” box, as then you don’t have to delete the background again. This saves me a ton of time in smoothing out the edges by tracing it in Illustrator. It is hard to see in these smaller photos, but the edges are smoother and the blacks are filled in. (sorry this is a different one that above…I was working on two at once).


I bring the .pdf into Photoshop and fix any problem areas, or where the edges weren’t smooth enough and still had ridges. This process usually takes me about a half hour to an hour depending on how much clean up work it needs.

Once the design is finalized then I start playing with it. I will duplicate the layer and flip it over on itself and may create 4 of them and connect them all. For some I will create a mandala design in a circle. I will work with it until I find a final design that I like. The directions that you overlap can lend themselves to very different designs. These were all from the two designs above.


Once I decide on the final design, or designs, I make the design into a brush (Edit -> Define Brush), and then I can stamp it onto the new canvas in whatever color I want.
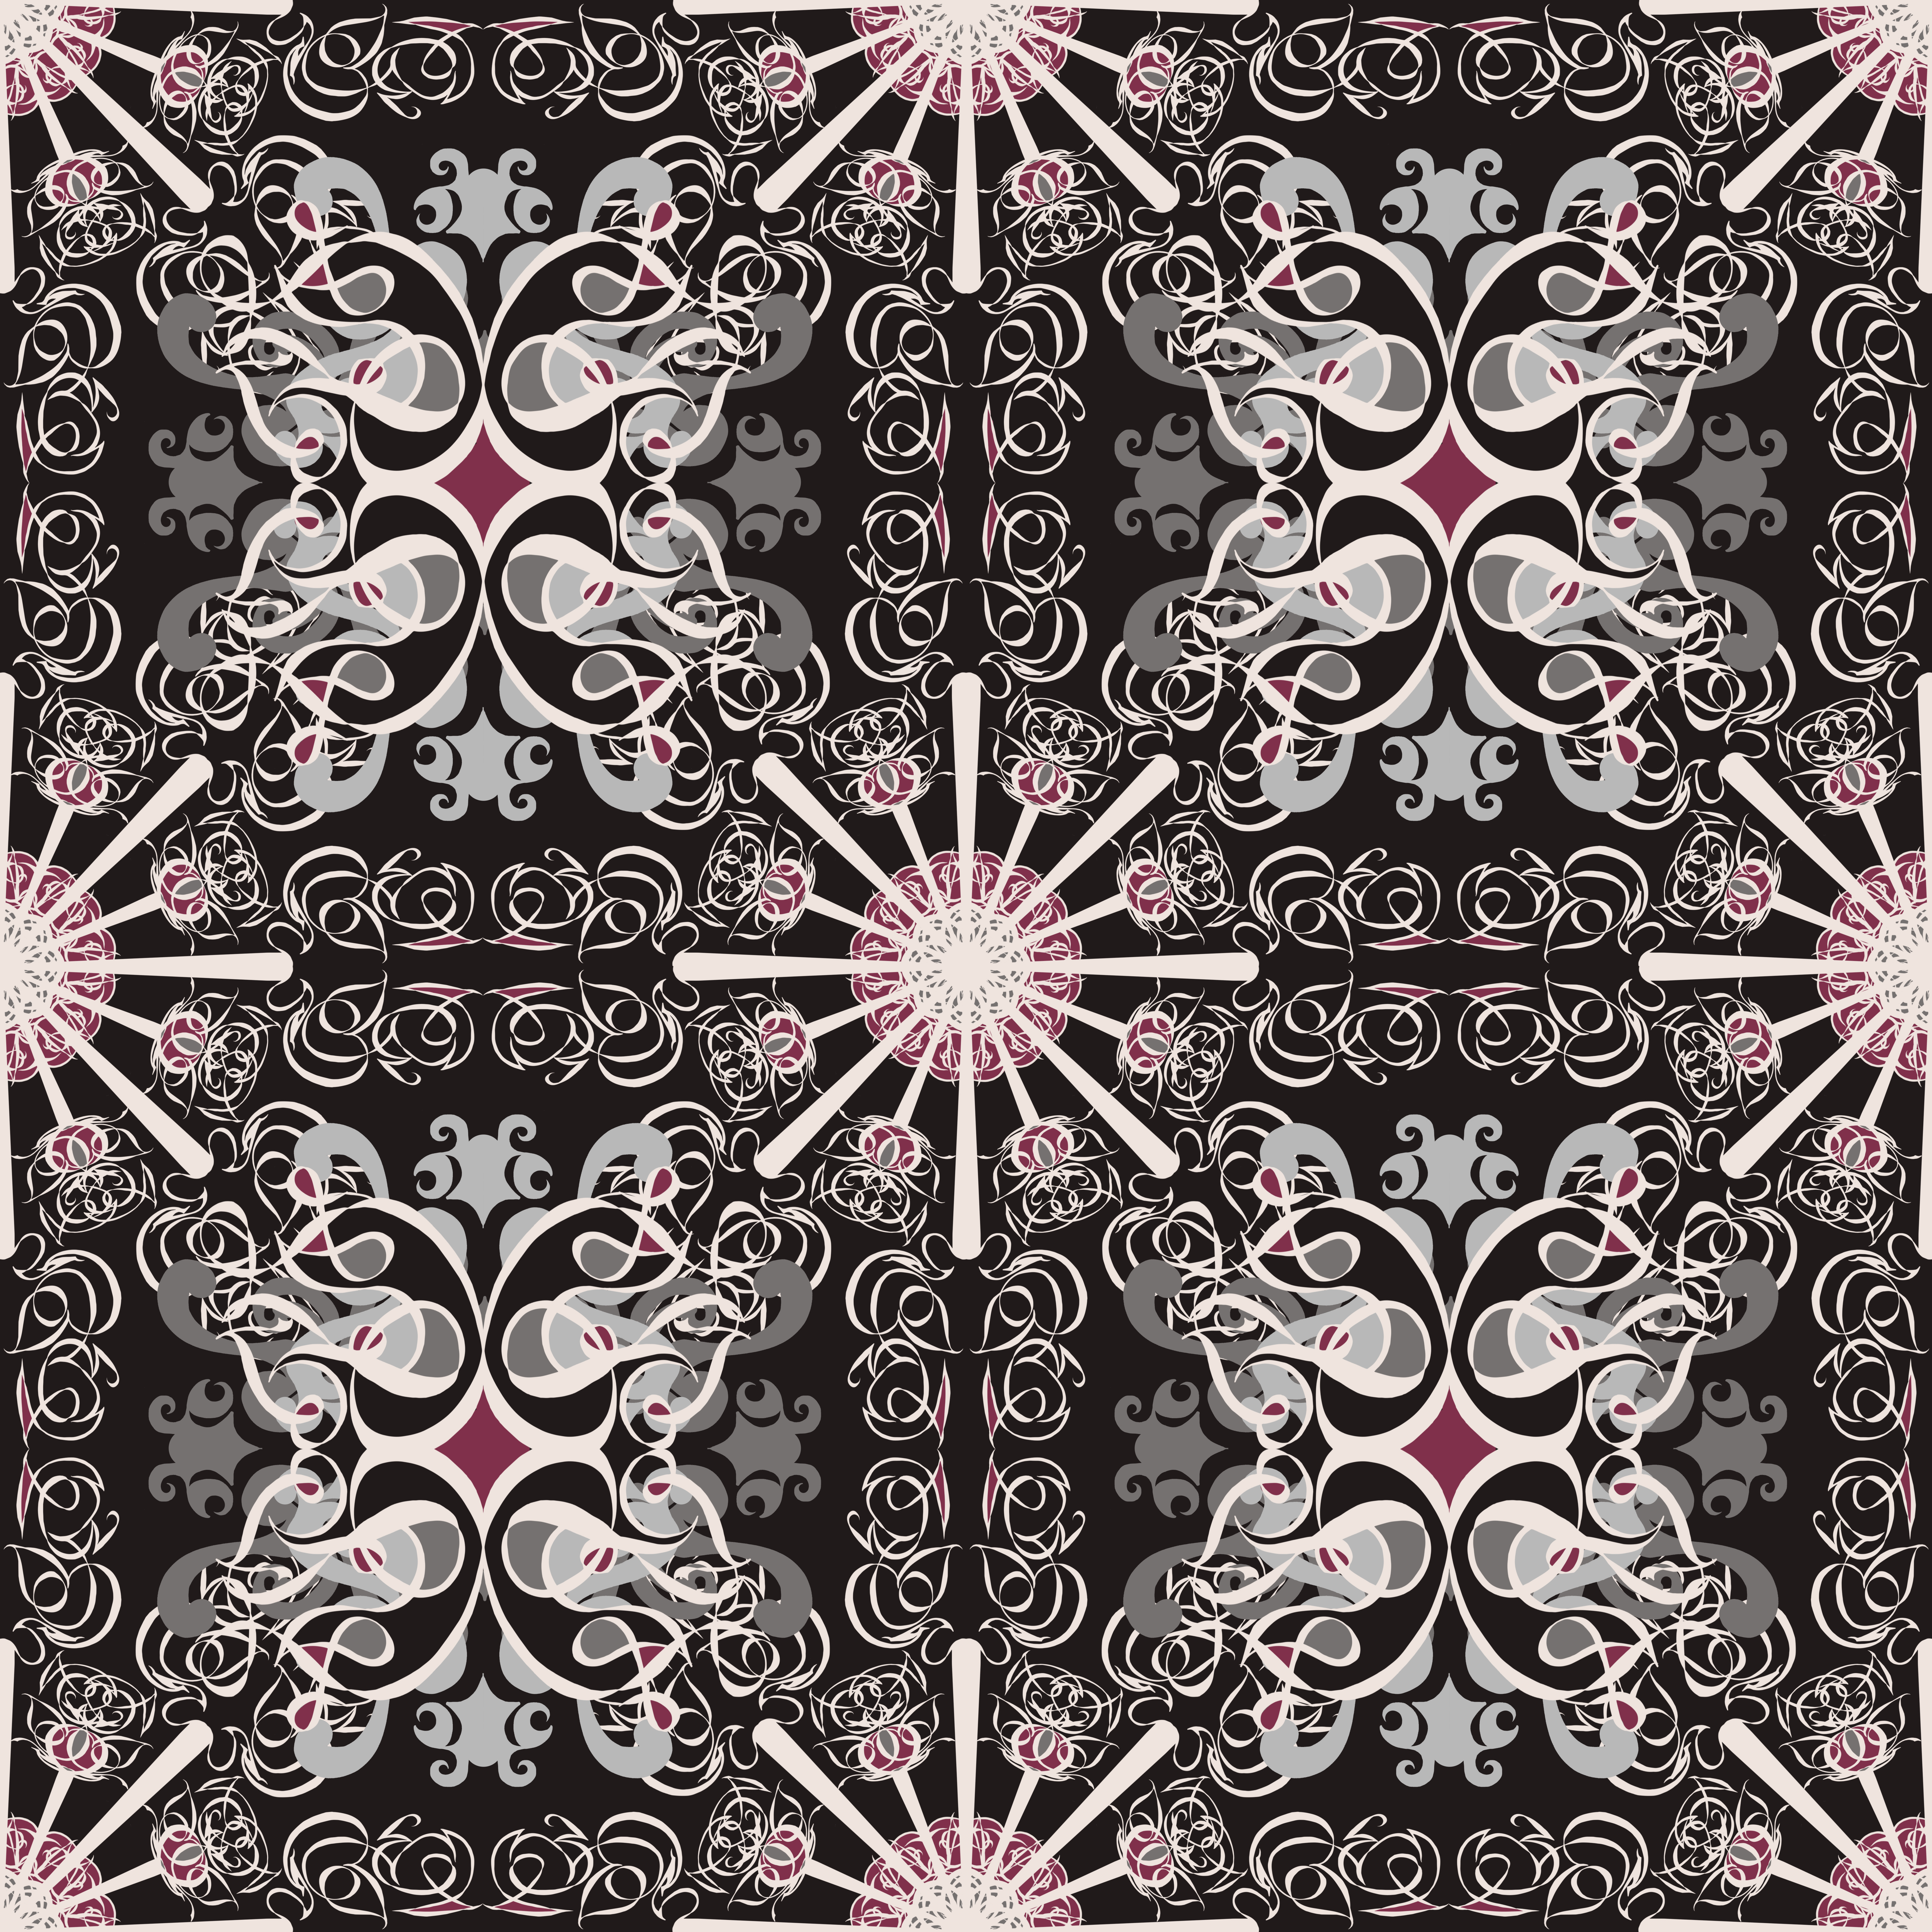
The next step is taking that design and putting it into a pattern repeat. I have A LOT of different designs as I have been drawing these for many years. I have a ton of brushes that I have made in Photoshop, so I play around with different shapes in creating my design repeats.

The first step in creating a design repeat is creating a canvas. I create a new file and right now I have been sizing them at 6400 x 6400 at 150 dpi. Next I add in a horizontal and vertical guide at 3200 px, which is my centerpoint of the canvas. This helps to make sure the design is balanced. I go for symmetry in my designs and not tossed designs. It is my OCD kicking in, I guess!
Next, I pick out a color palette. I recently realized that those color palettes you can find on Pinterest are a great source of finding complementary colors. They take pictures, usually from Nature, and create paint swatches from them. I save the picture of it to my computer, bring it into Photoshop, and then use the color picker and save the swatches to the color swatch on the right sidebar (see photo above – right middle). That way it is easy to switch colors as I am creating the design.
This is the one I used here:

My next step will be to decide on what will be the background color and what will be the design colors: dark on light or light on dark. I create a layer with the background color I have chosen.
I add several blank layers, and then on the topmost layer I make a design stamp. Next I use the other colors on the swatch sample to color in the design on the layers underneath it. To save time and make sure everything is colored in the same, I do a quarter of the design and then duplicate the layer for the other quarters of the design once it is completed. You have to make sure the duplicated layers sit in the right spot and don’t bleed out of the lines. I look over the design on zoom to make sure the entire design is neatly colored.

Once that design is completed, I merge the layers, duplicate it three more times and put them in each of the 4 corners, making sure the center mark is exactly in the right spot so the overlap will be continuous.
Now, I usually do another design in the center, and I may add more to the middle top, bottom and sides. Always making sure that my center marks are in the right spots for the continuous overlap to work.

To make sure my pattern looks good, I create the pattern (Edit -> Define Pattern), open a new file and create a pattern layer. I choose my newly created pattern from the swatches and decide on the size of it. I look at it from 25% to 75% usually to make sure the repeat works. I will zoom in on the repeat to make sure everything lines up correctly.

I usually go through at least two or three iterations of the pattern before I land on the final design. Sometimes the repeat just looks…off, so you need to go back and rework it. Generally it will be because the colors don’t look balanced, or one element sticks out too much.
This tutorial of a sort does require some knowledge of Photoshop and Illustrator. There are many tutorials online to learn the programs. This is mainly CS4 that I am using, but it would be the same if you have the Creative Cloud subscription.
Let me know if you have any questions, and I would be happy to help. This has been a lot of fun for me to do with my drawings!


Comments are closed.