In keeping with my last-minute making things, I made this Saturday before going out with some friends. It took me about two hours or so to get this done. It is pretty simple bag if you don’t “dress it up” at all. I didn’t line it. If I had used a softer lambskin I may have sewed it so that was possible, but this was a heavier cowhide.


I took photos while making it, so if you want to make one yourself here you go!
First off, here is the pouch pattern, and here are a few extra designs. I tried to get the pattern to fit on one page of paper, so just cut it out and tape it together. I had to redraw it in Photoshop, so hopefully I got the proportions correct. I am still having a hard try drawing things like this in Photoshop.
Alrighty, here are a few more things you need to do this version:
- Leather
- 5-6″ zipper (the opening is 5″ wide)
- Wondertape or glue (holds zipper in place)
- Heat n’ Bond (for the applique)
- Rivets
- 4 Post snaps
- 2 D-rings
- Wood burner
- Hole punch, Exacto knife, scissors
Here we go…(click on any of the photos to see them bigger)
First, print off the pattern and tape it together. As you can see here, I made it big enough to fit my phone within the seam allowances. I have a Galaxy S5, and it should fit the same as an iPhone, too. Cut out the section for the zipper.

 Now cut out your pieces. On just the front piece, cut out the section for the zipper.


 Now if you are doing a design, cut that out on Heat n’ Bond. Cut off the excess, but leave about an inch around the design.

 Find the center of the front, place the design in the center and iron it onto the backside of the leather with a press cloth over the top. Make sure the design is within the seam allowances.


 Now cut out the design, trying to keep the lines as clean as possible. I use a mix of an exacto knife, scissors and rotary cutter.
 I used my wood burner to darken the edges and add a bit more detail to the design. If you want to darken the edges, you can also just use a leather dye.
 Now peel off the paper on the Heat n’ Bond and adhere your leather backing with an iron. I cut the excess off after I get it placed.
I also did my rivet holes before putting on the backing. It was easier to do it beforehand, and then I just used my exacto knife to poke the rest through the backing after it was adhered.


 Cut off the excess backing and set the rivets on the front. Sew around the design where it needs extra adherence.
 Use Wondertape or glue to hold the zipper in place while you stitch it on. This zipper was a bit narrow, so I had to stitch pretty close to the edge. You might want to check to see if your zipper is too narrow for the opening before cutting it out. Mine was also a bit long, so I just cut it off after I sewed it on. I did have the zipper pull on the inside of the opening before stitching it on, too. Don’t mind the photo beforehand!

 Now, stitch the back to the front. I use Wonderclips to hold it in place. Don’t use pins, as they put holes in your leather. When stitching leather on a machine, you need to use a leather needle, a Teflon foot is helpful, and don’t backstitch. You tie off your threads at the end.
 I used a good 0.5″ seam, as I trued up the edges with my rotary cutter after I sewed it up.
 Now, turn over your points and put the post snaps in. Sorry I didn’t get a picture of the rest. I was running out of time!
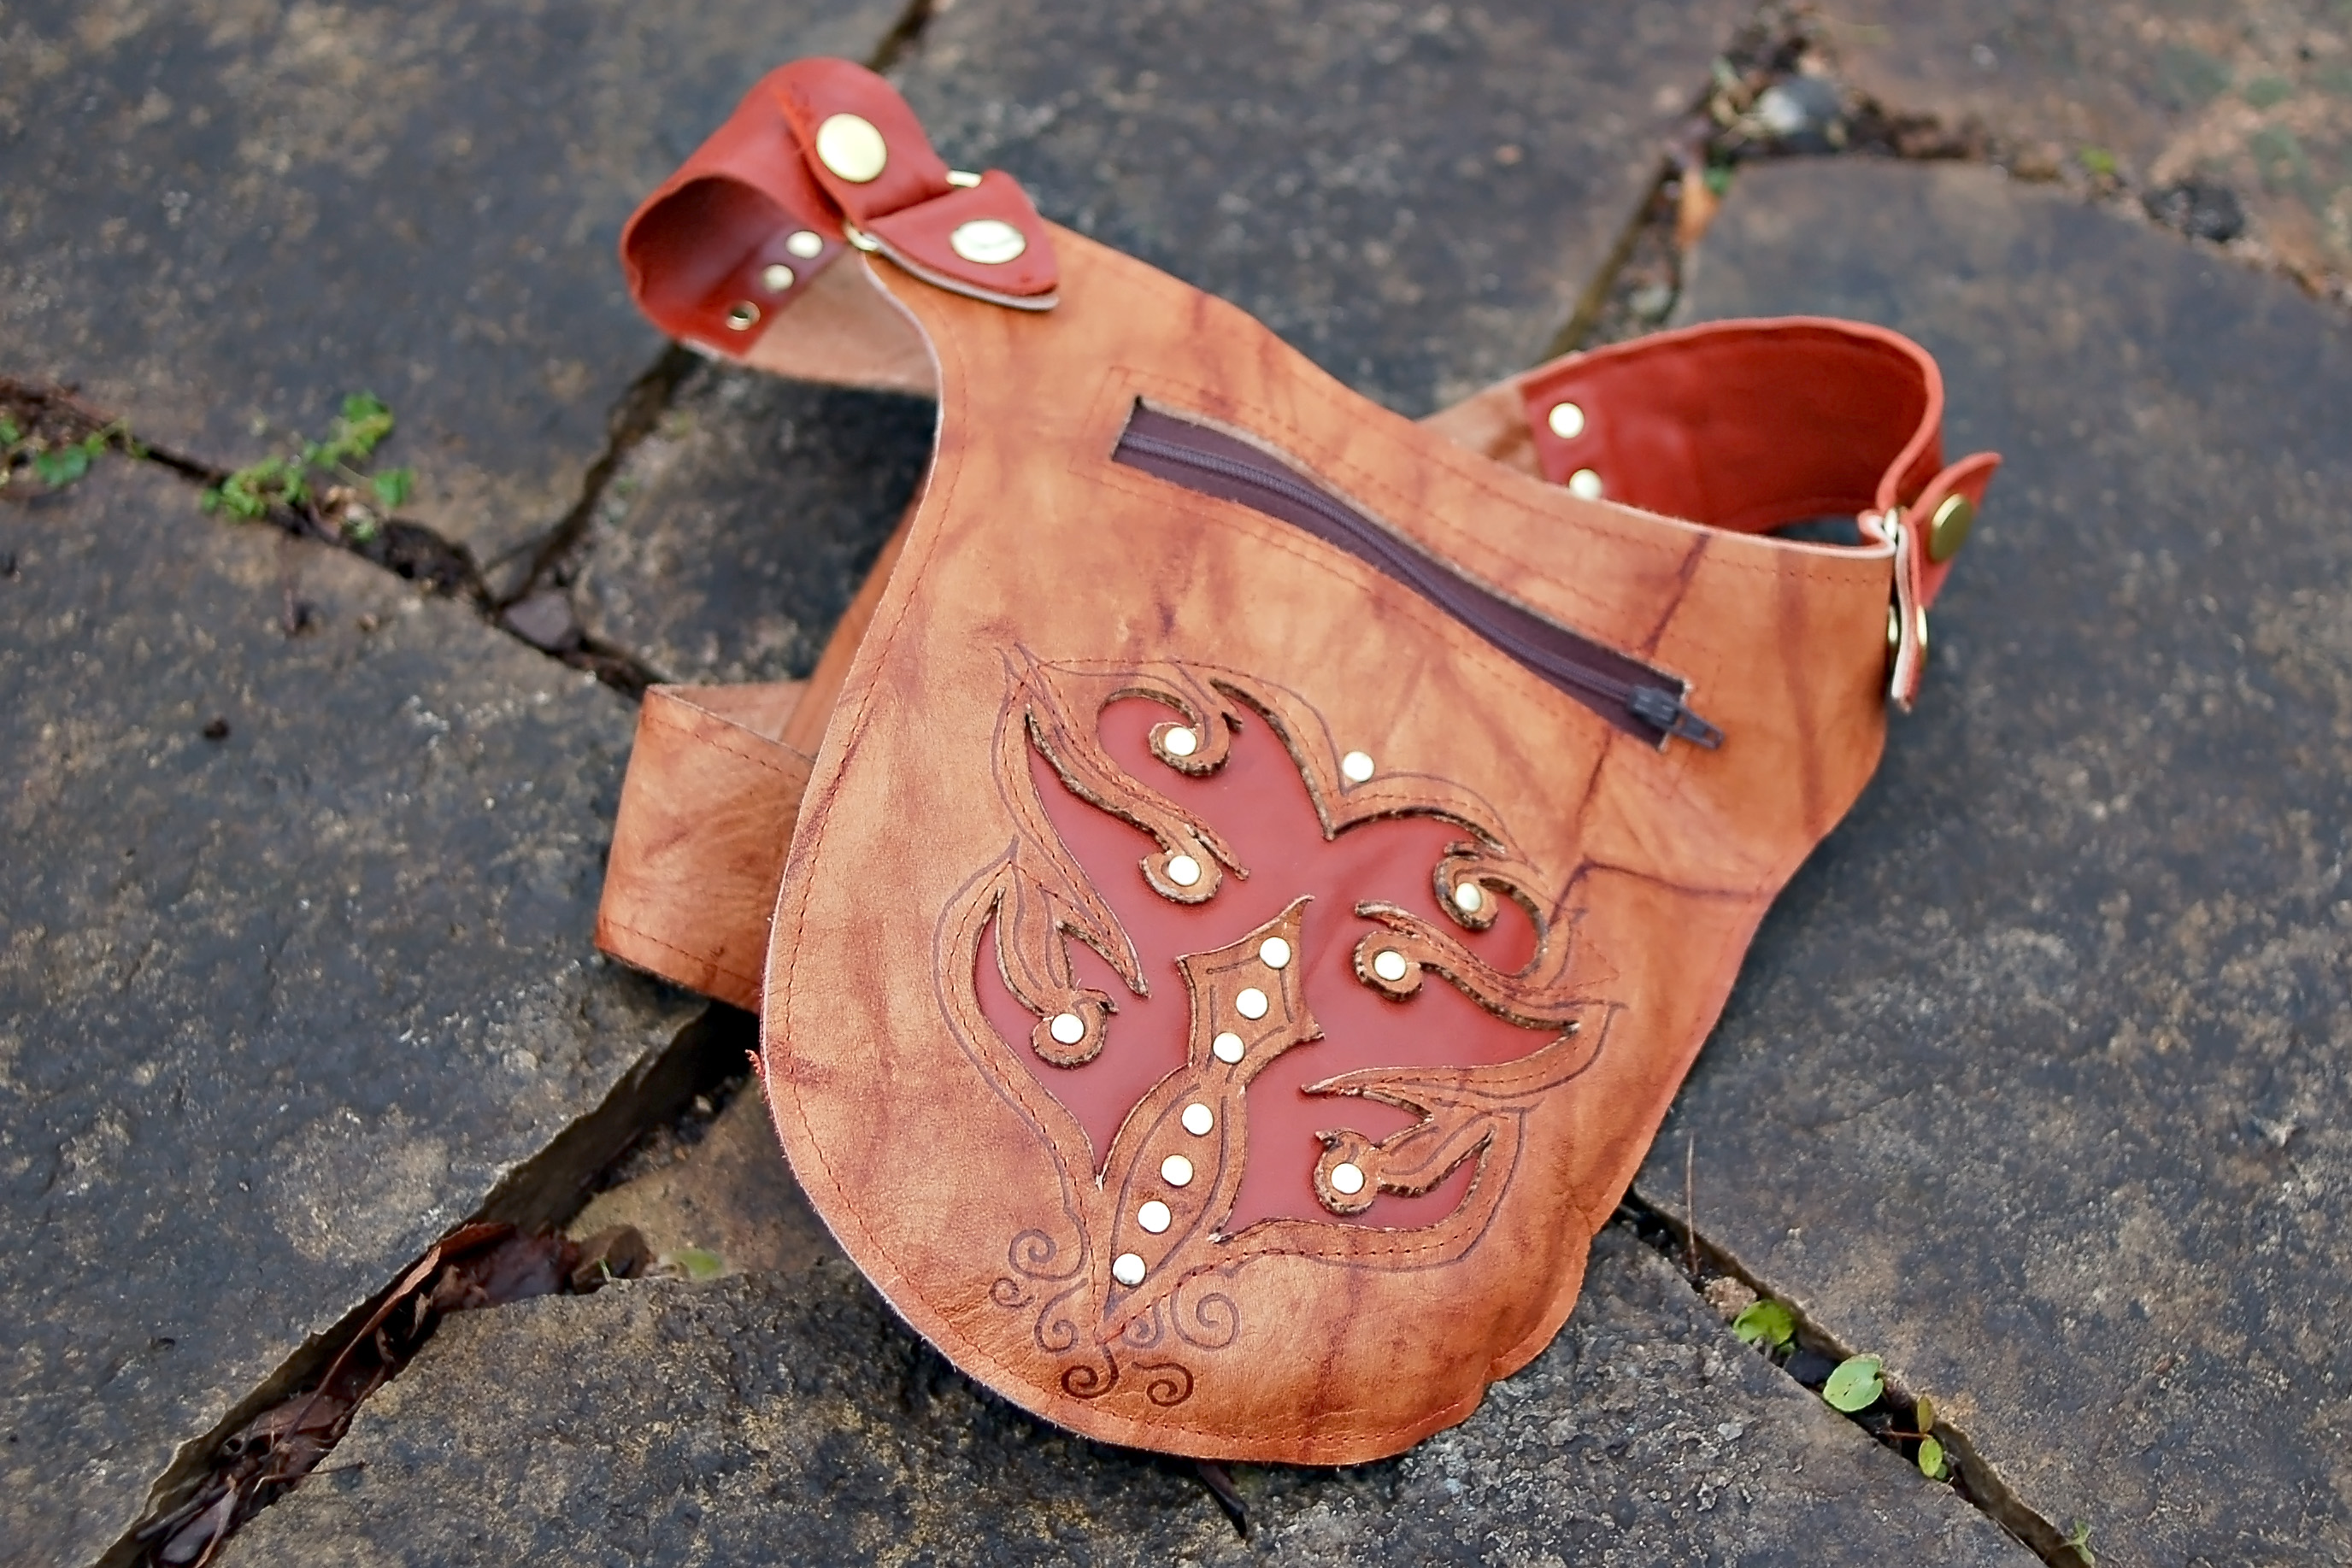
 The strap is a total of 45″ long, with the ends pointed and turned over with post snaps. I used snaps because I wanted to be able to add some swivel snap hooks to attach to belt loops if I wanted.
I got lots of compliments on it that night, so it was another winning project!


