We are at a point in our familial gift giving, that many just want to exchange for the kids and not do anything else. We are getting some gifting back, but for the most part the adults are not interested. I miss it.
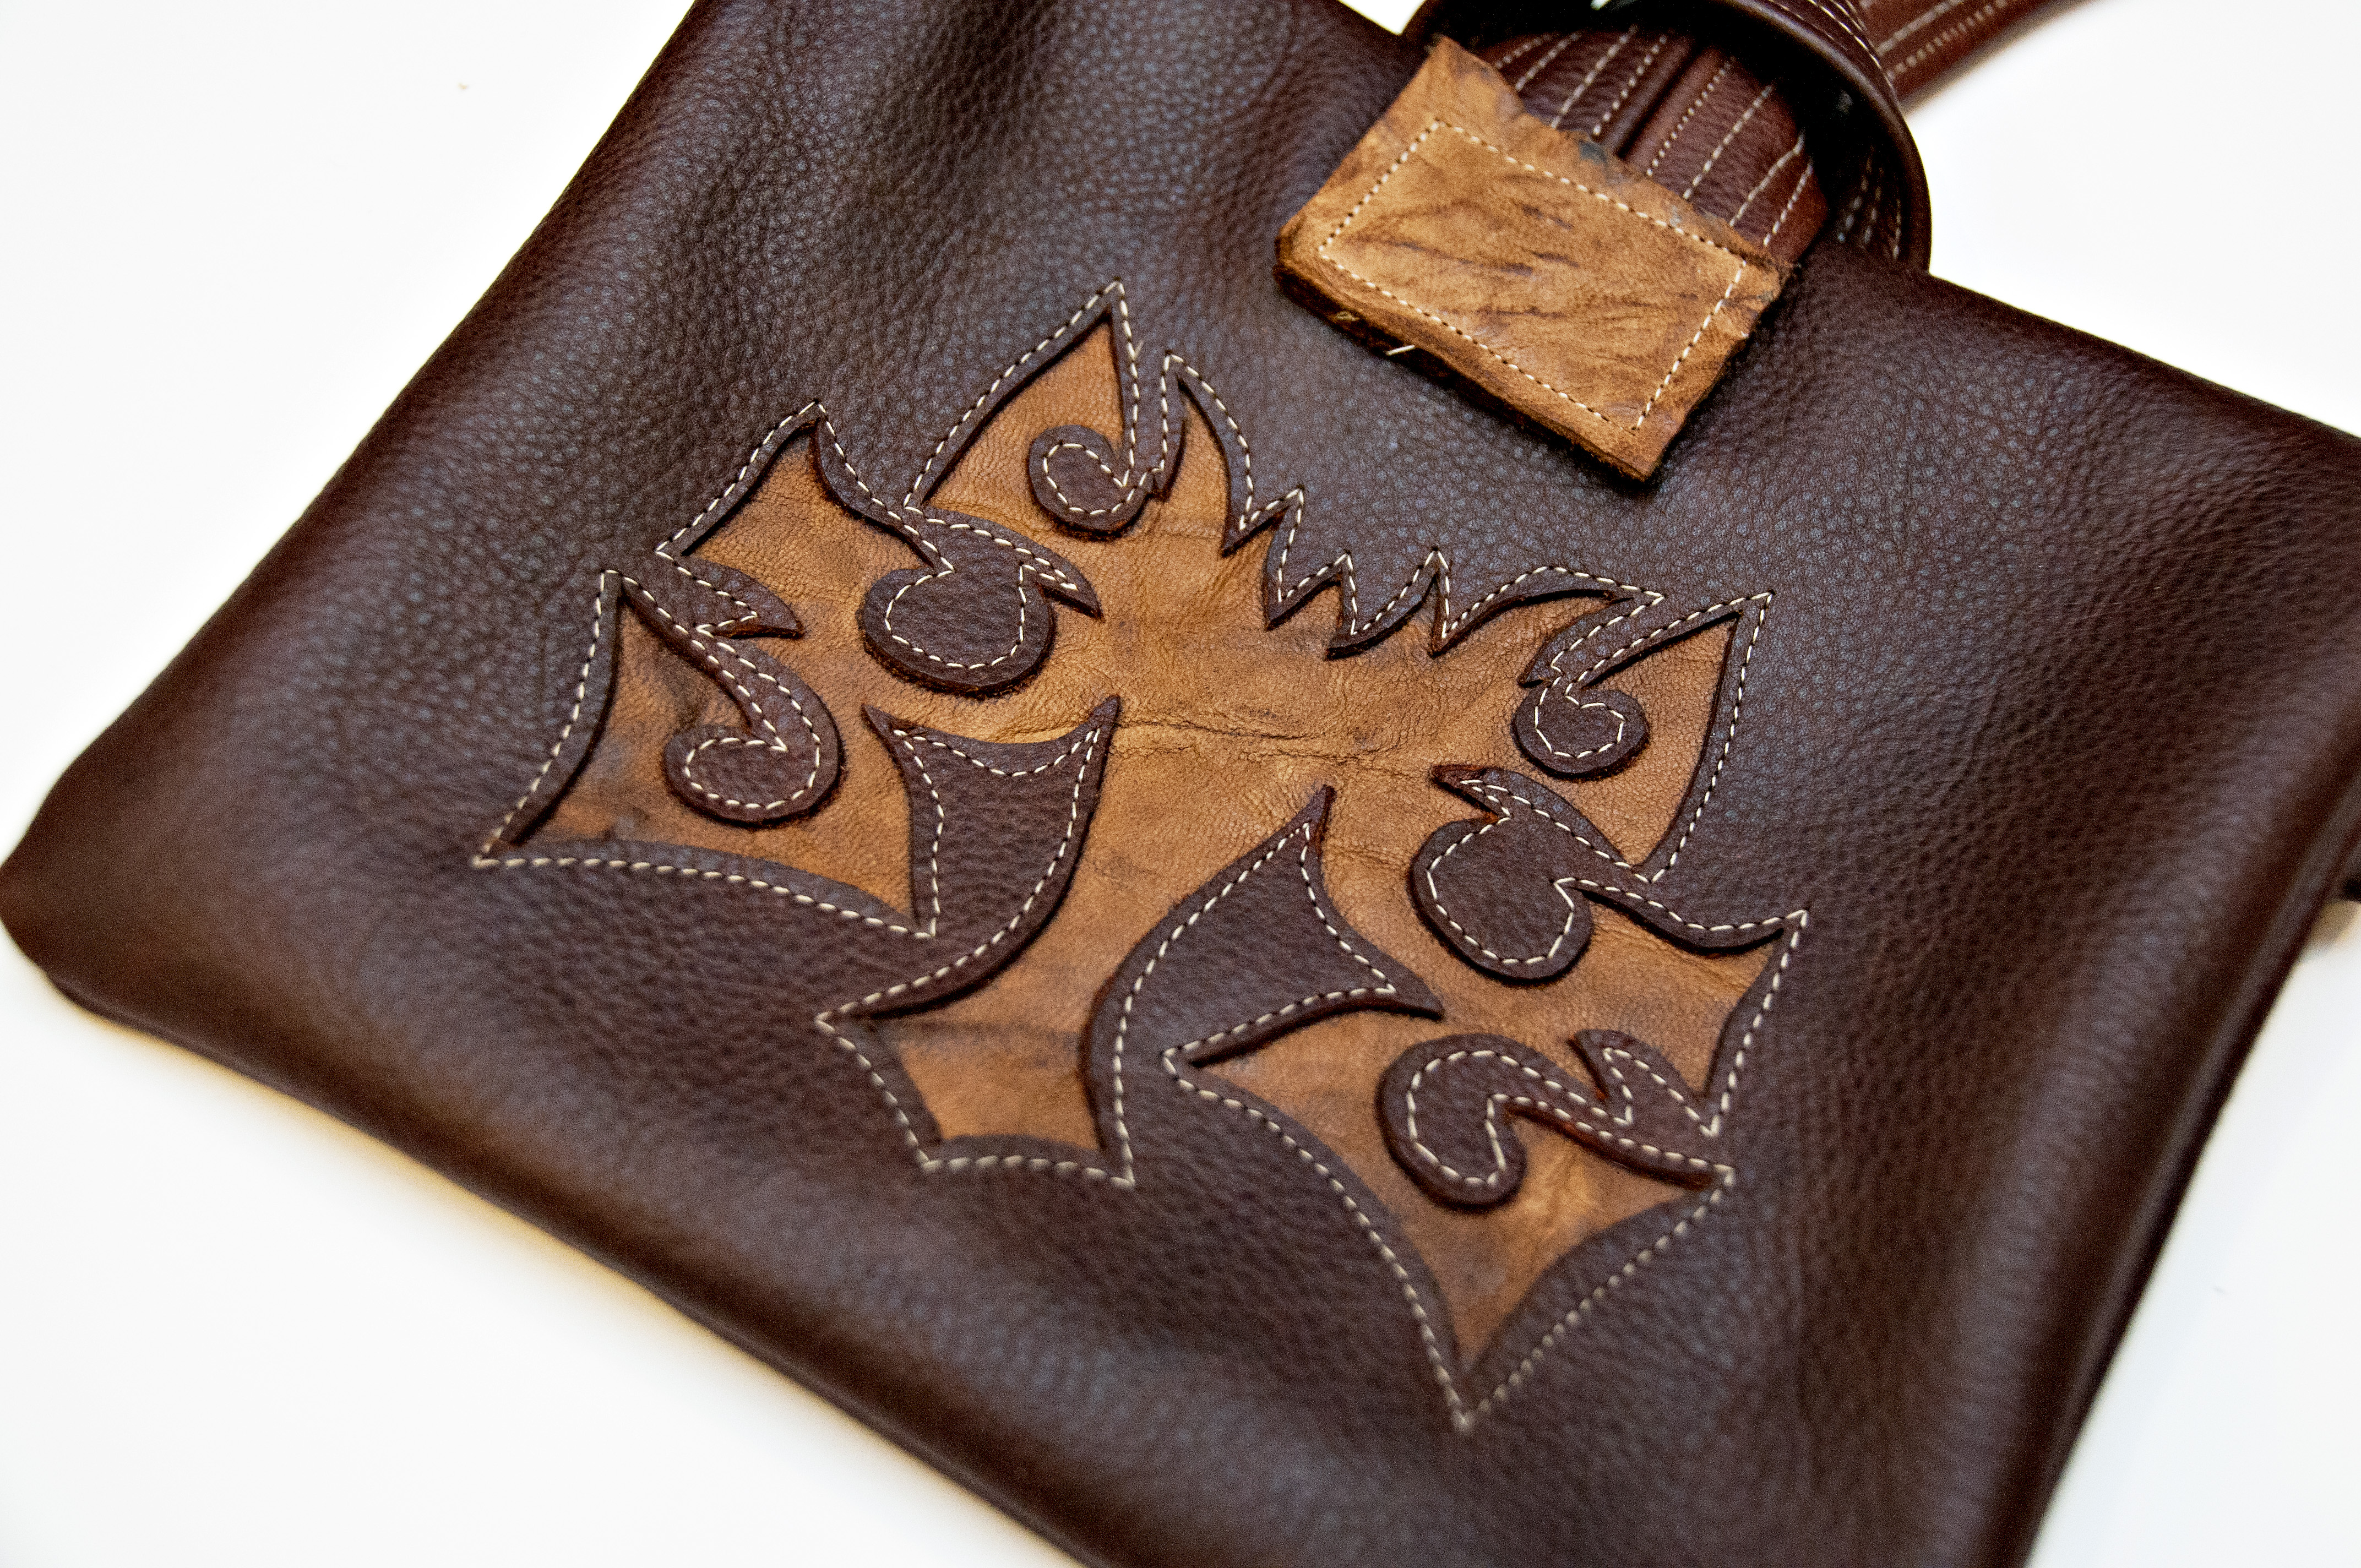
I do have a cousin in California that always sends something nice and thoughtful to us. This year I finally had time to be thoughtful, too. I made a little clutch for her that could go over her saddle horn, if she wanted a place to store her keys and phone while riding. I made her hubs a wallet, which was a first for me. I would make some changes. It is narrower than I would like and the inside card pocket needed some more room on it, too. Next one.
These are a mixture of an oiled cowhide and lambskin leathers. The cowhide is VERY oiled. The other leathers were starting to darken up from the oil in the main leather. Oh well. It still looked nice. 🙂


I put together a tutorial on how to do a reverse applique on leather. This is the process I use for each one that I make.
Leather reverse applique tutorial
First, I cut out a piece of Heat n’ Bond that will be a little larger than my design. Next, I draw my design on half of it. Options for designs if drawing is not a skill you possess – trace out an image from an image search of tattoo designs, clip art, coloring book pages, etc. It just can’t be too intricate, since you have to anchor it with stitching. It is hard to do that if they have a lot of small pieces.

Cut out the design. You can also do this when it is on the leather, but I like to do it beforehand, so I can cut the leather cleaner. Your choice. 🙂


Now, find the mid-point on the leather for applying the applique.


Now, iron it onto the leather. Make sure that it is placed evenly on each side before ironing it. Ask me how I know to do this?? Use a press cloth, or else your iron will stick, and possibly sear, the leather.

Now time to cut it out! I use a combination of exacto knife, small scissors, big scissors and rotary cutter. I try to get the big, longer cuts first and then do the smaller intricate ones last.


Peel off the backing, and cut out another piece of leather that will cover the hole. Iron this on, using the press cloth.


To secure it, sew it on the sewing machine. To sew this, I have a leather needle and use a long stitch. I have to walk it around some of the areas, so you really have to go slow to make sure it looks nice in the end.

Don’t cut the threads, but pull to the back and tie off.


