As there was some interest in how I made my cowl, I decided to do a tutorial on it. It wasn’t hard to want to make another, since I love how these turn out!
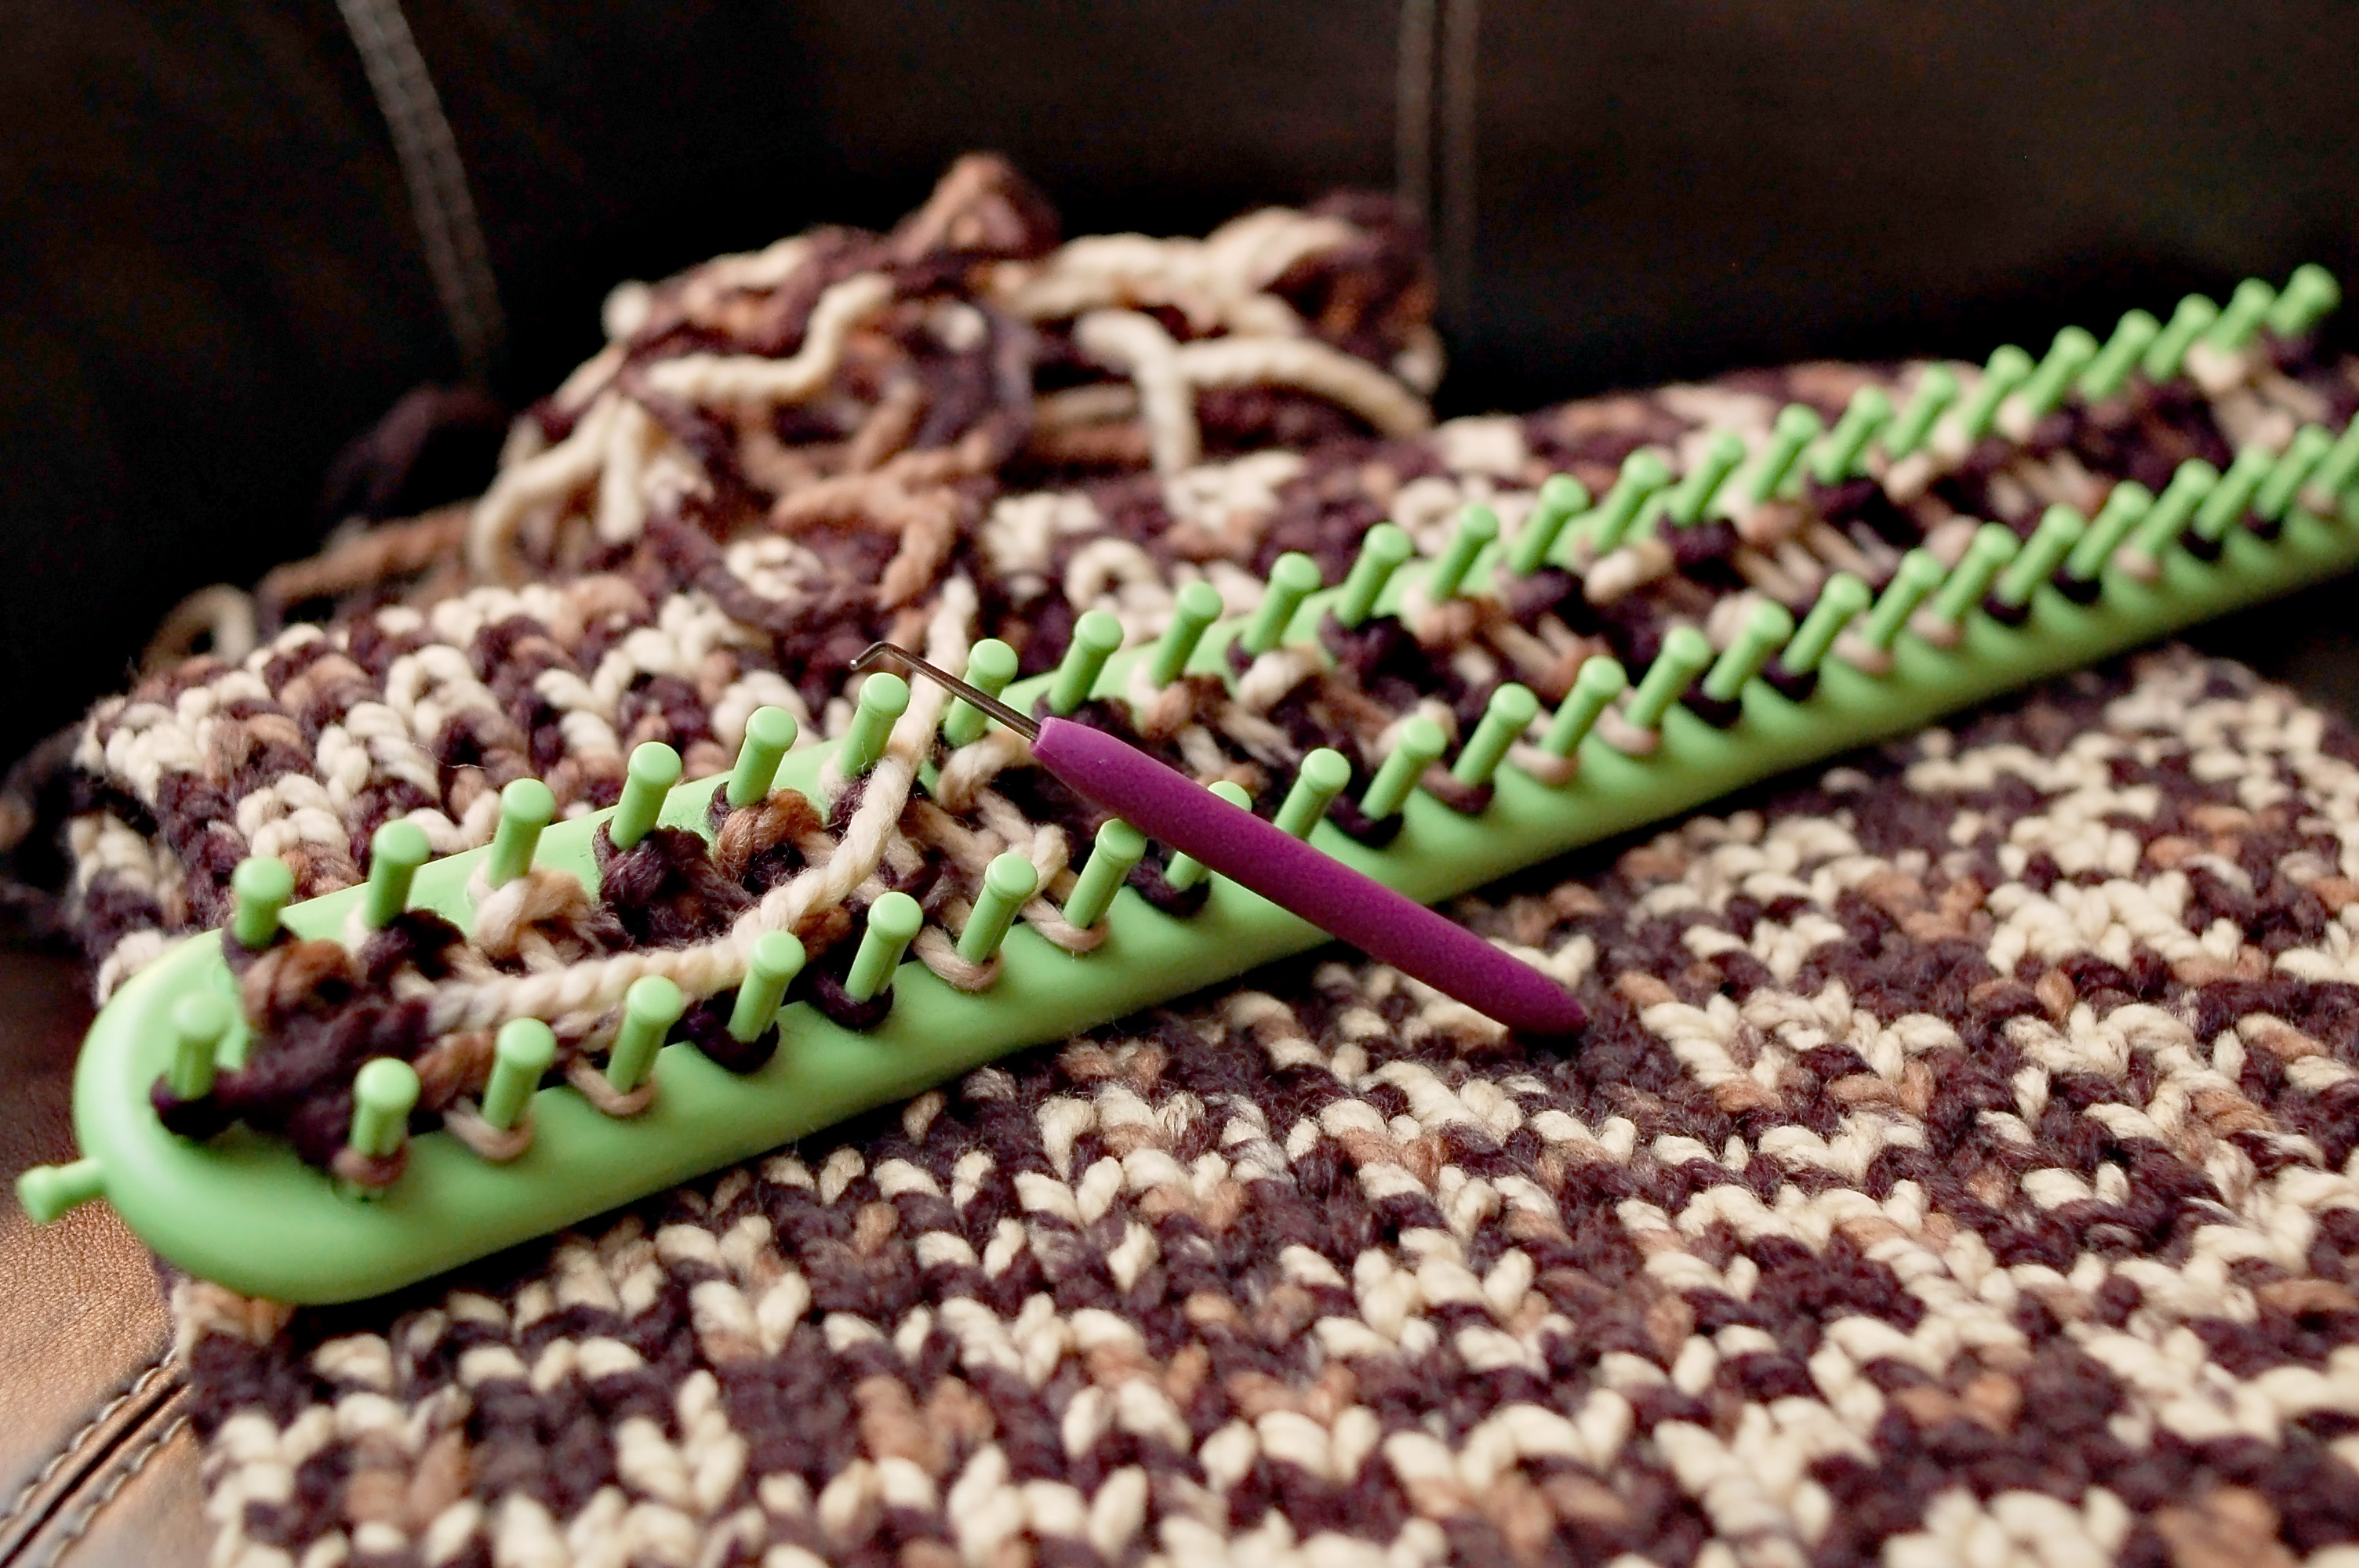
I won’t go into the actual knitting, as YouTube has tutorials already that cover this aspect. Here is one. I knitted this on a green Knifty Knitter loom that is 17″ long. I used two skeins of Lion Brand Wool-Ease Thick & Quick in Desert. It was 174 yards of yarn.
 The knitted part ended up at 24″ long by about 15″ wide.
Next, we move along to the sewing part. I have made three of these so far, and I had to cut the leather at different lengths. I knitted them all on the same loom, so it probably has to do with the recovery on the yarn and how tightly it holds together.
I have acquired a little stash of leather. The apocalypse comes, and I’m all set! I decided on the cream leather and black snaps.

Some tips for sewing with leather
Leather can be different thickness depending on the type. Lambskin, goatskin and pigskin can be fairly lightweight and easy to sew, but they do tend to stretch more. Cowhide is thicker and more stable, but some of it can be hard to sew through. Look at the “oz” of the leather to see how thick it may be. I would stick to 2 oz to 4 oz for this project.
There are leather needles for sewing leather. It has a little blade on it to cut through the leather and it is a thicker needle. I would recommend getting one.
I use a teflon foot the majority of the time I sew leather. Suede is easier to sew, but finished leather can be fairly sticky. You can also use tissue or newspaper to help guide the leather through the feeddogs. I have also seen it suggested to put tape on the bottom of your regular foot. I have also seen a walking foot recommended. I got the teflon foot after sewing with some pleather and leather for a few times. It works great for me.
Use a longer stitch length (I use 3 on my machine), and do not backstitch. You will create more holes than necessary in the leather. Instead, you need to tie off the thread ends.
Do not use pins, as they will put holes in the leather. Instead you can use Wonderclips (or whatever generic alternative you can find) or even paperclips work, too.
You can iron leather with a press cloth, but make sure your iron does not leak, so take off the steam. Another alternative is to use a mallet or hammer to get the leather to lie flat. With thicker leathers I tend to use a hammer. Thinner ones are more amenable to be pressed flat.
If you need the leather to stay put, you can glue it down or use Wondertape. I just use a regular glue stick sometimes when I need it to stop shifting, but you can also buy a specific leather glue.
Sources for leather: Thrift shop leather jackets/clothes are a good place to start. I have upcycled leather jackets, shirts and pants. Some fabric and craft stores carry leather, though some are fairly overpriced for what you get. You can also buy leather online from places like Tandy Leather or Springfield Leather. Ebay, Etsy and Amazon also have sellers. I would start small, though. Some of the leather stores sell scraps, which can be enough for small projects like this one. Another option is a leather-like product call Perfection Fused Leather that Fabric.com carries. It is a cowhide fused leather and is lightweight. I have used it for apparel before and it would work well for this project.

Now on to the sewing!
The length on this knitted scarf was 15″, so I cut the suede at that length by 4″ wide. This is a thin cowhide, so it was a good weight. You can also add iron-on interfacing if the suede or leather seems a bit too thin. Just use a press cloth over the top.

Put the right side of the leather to the right side of the knitted cowl and clip together (no pins). The cowl doesn’t really have a right side, of course, so either side will work.

Sew. Slowly. You need to take your time to make sure you are getting enough of the knit and that it stays in place.

Now, turn the edge of the leather over for the seam allowance and press this flat. When pressing an acrylic knit, it can melt. I just press on the edge of the seam allowance to get the bulk of the knit to lay flat, too. You can also use a hammer to get the leather flat if it needs more.

This leather wasn’t staying in place very well, so I added Wondertape to the seam to get it to stay in place while stitching.

This part can be hard to clip, so you really have to just do the best you can to keep it in place while topstitching. You can also glue the inside together to keep it in place.

Now to sew, go along the unsewn edge first, down the side, across the bottom and up the side to meet it. Try to keep the leather from shifting as you sew or else it gets offset. Getting it started and under the feed dogs can be the hardest part. I had to hand crank and hand move it (lifting up the pressure foot and manually shifting it forward a little bit) for the first 1/2 inch or so. I dropped the feed dogs, and that made it a little easier. Once it got started it moved along fairly easily.


 The edges of the leather are raw here. This allows me to clean up the edges if they don’t meet exactly (which they didn’t). Just use a rotary tool and straight edge (or exacto knife) and cut the edges clean.
 Alternatively, you could cut the leather an extra inch, and turn the edges under. This looks fine, so I don’t go through that extra step and bulk.
Now mark the holes for the snaps. Depending on how long you needed to cut the leather, you may have 5 to 7 snaps. I did 5 on this one, and I think it could have used more.
 You use post snaps on these and not the ones with little teeth. The ones with little teeth will have a hard (or impossible) time going through the leather.
Now punch through the leather. I used a leather punch, but you can use an awl or even just a knife.
 Put in the snaps. You need a tool to put them in, so make sure you buy it when you get the snaps. Not all of them come with the setting tool. These are some of the setting tools that you can find.
 Here is how you put them together:


 Now you are all finished with a very nice looking cowl.


Parade around town in it and don’t be shy about saying you made it!


That is beautiful and you should be proud – excellent job.
Thanks, Lori! 🙂