Last Fall, as part of the CAbi line they had arm warmers. One was in a nice ponte knit and one was ponte and “fleather” (fake leather…sounds classier than saying pleather, I guess). They weren’t too bad for CAbi prices at around $35 – $45, but I could obviously make these so much cheaper.

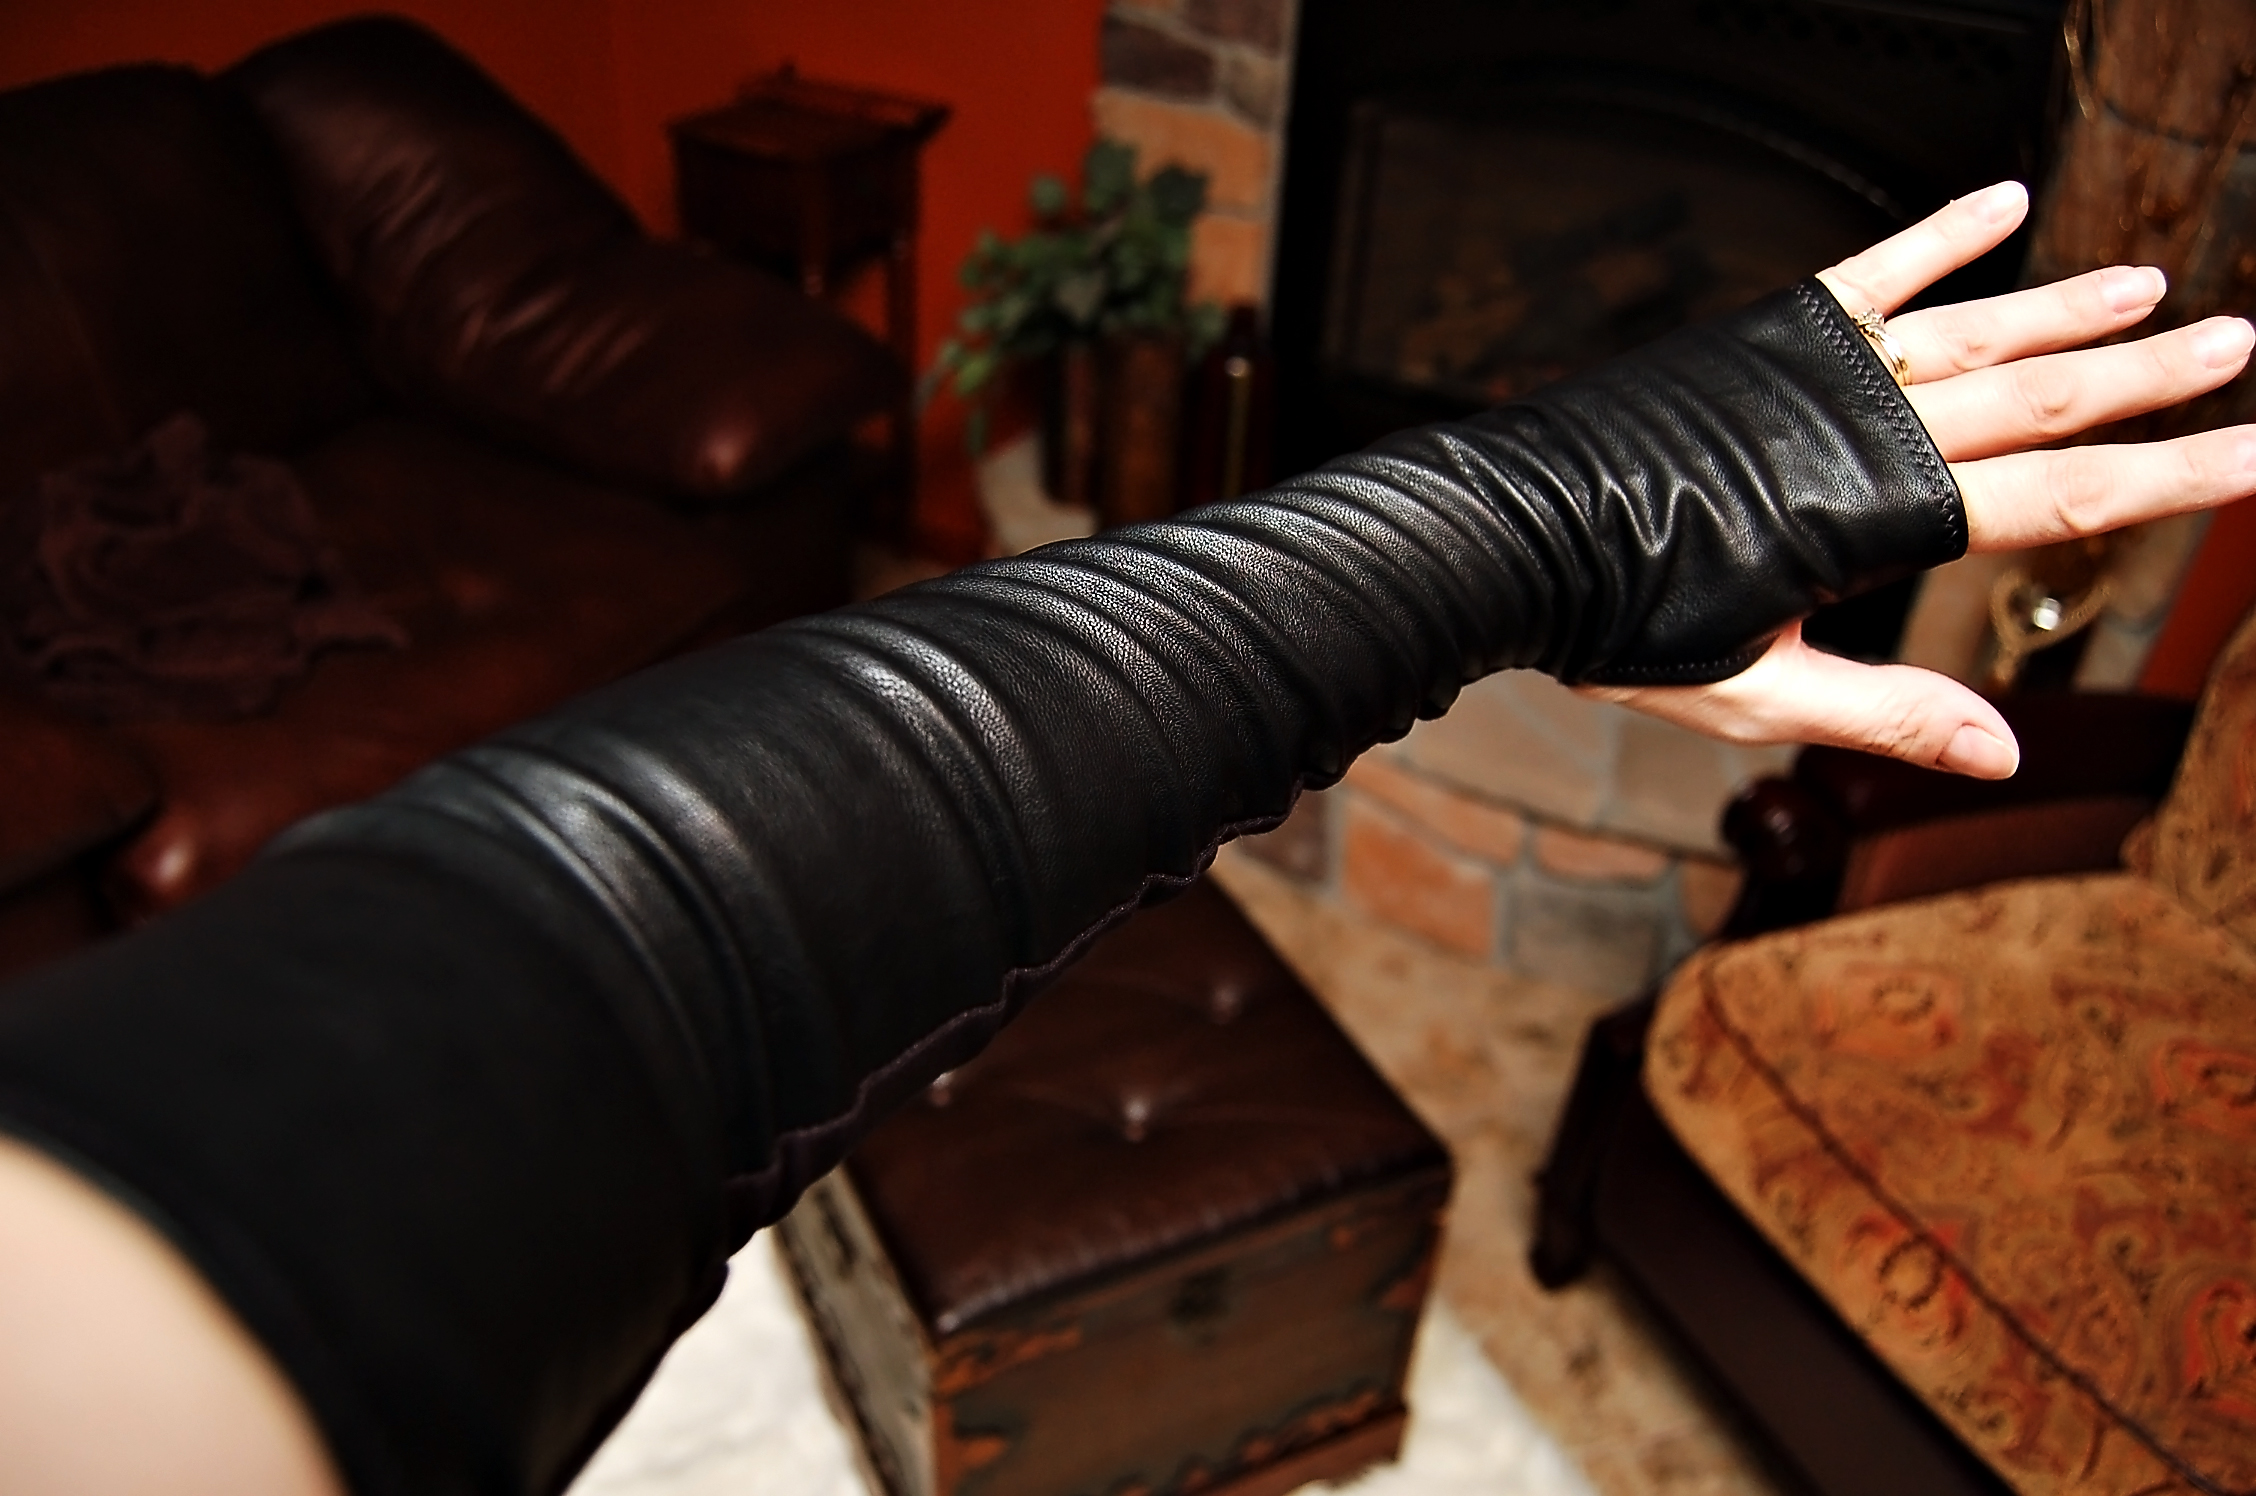
I used some of my Perfection Fused Leather and Ponte Fino that I purchased from Fabric.com. I made both a pair of regular ponte and ponte/leather. The ponte/leather is not as comfortable, but they look cool.
I took a long sleeved shirt that fit me pretty well and drew out the lines of the shirt up to where I wanted it to end on my biceps (with seam allowance). I put my hand up against where the cuff of the shirt ended, and drew out the shape of my hand to where I wanted it to end (with seam allowance). I marked where the thumb holes should be, as well.

As you can see, my pattern is 20″ long. This is the one I used for my leather/ponte style, so it has two pieces cut. The thumb holes are 1.5″ from the end and 2.25″ long.
Cut leather out of the larger piece and ponte out of the smaller piece.
Sew the leather and ponte together on one side. Make sure you sew opposite of each piece so you have one for the right and one for the left.


Now, the thumb holes need to be hemmed. I did this both ways – once I hemmed before I sewed up the seam and once I sewed up the seam and left the hole to hem afterwards. Either way, it is a bit of a pain to do the smallish seam. It is harder to do it once the seam has been sewed up, though. As this does not fray due to the knit and leather I just turned it under once.


Once you have the thumb holes hemmed, sew up the seams on either side. Make sure to back-tack well, as this will be a pressure point.


Next hem the top and the bottom of the arm warmer.

There you have it…pretty simple and quick!


cute! definitely going to archive this for next winter lol