In getting our new wood-looking vinyl floors, I decided to repaint the dining room. It previously was a nice deep blue you see here in this older photo:

It was originally painted by the previous owners of the house, so it was pretty much the only room I had not painted before.
That color, along with the dark floors, was just going to make the room appear too dark and closed in. We generally walk through this room from the garage to going upstairs, so it gets a lot of traffic.
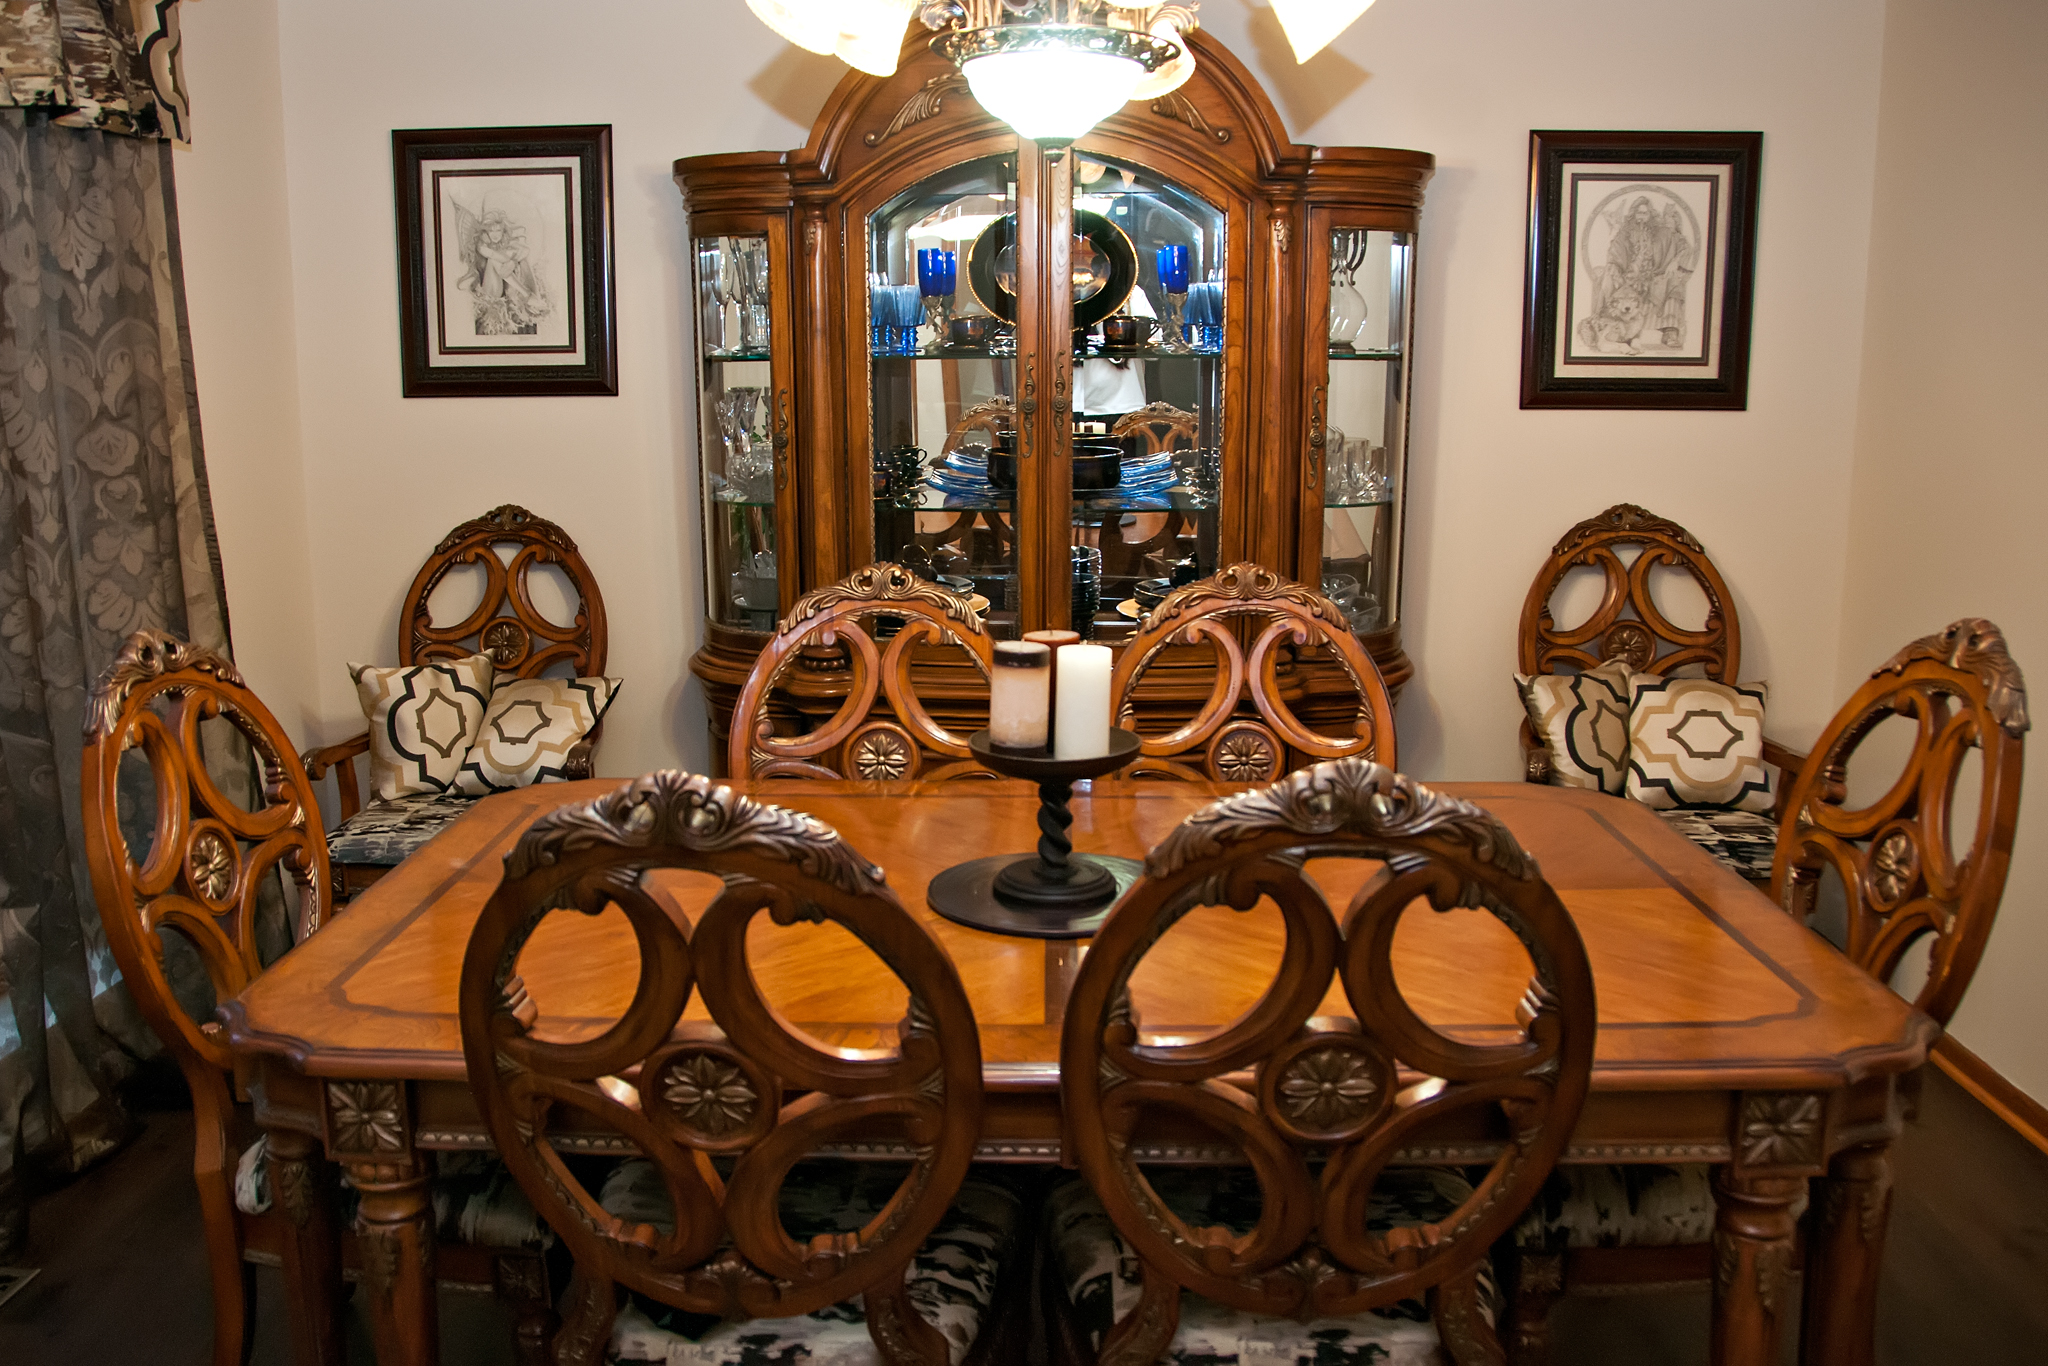
I decided to paint it a warm, off-white color called Crisp Linen. I have the whole color sampler from Sherwin Williams, which is so nice to have. I guess if you don’t paint much it is overkill, but I’ve used it quite a bit. It helps being able to match things at home.
After painting on 3 coats, it was time for some new drapes and new chair coverings. I measured what I thought would be the right amount of fabric for the chairs, but ended up buying too much. I had an extra yard plus of fabric. I had also purchased another decorator print that matched the chair fabric. Having an excessive amount of fabric meant I needed to do something with it.
First, the chairs…


Reupholstering Chair Covers
Recovering a simple chair like this isn’t that hard. It is bit time consuming, but very much something that can be done by anyone. First, you unscrew the padded base from the chair. If you have excessive fabric on it, then you need to take that off. These chairs already had two layers on them: the original covering and one I put on previously. I had to take off the top layer, so that required a pliars and lots of cursing. 😉

Next, make a template to cut out. I used one of the layers I took off, but you can just trace around the base, add inches for the height (figure out what you need with your measuring tape) and about 2″ extra to fold over underneath. You might want to just cut a test one first before cutting everything out. Decorator fabric is not cheap if you make a mistake in cutting.
Once you have your covering, you need to get a staple gun and lots of extra staples. I have an electric one, which I would suggest. It goes much quicker and easier that way. Your hands would wear out pretty quick with a manual stapler.
Staple across the bottom until a few inches away from the corners, then go to the top, stretch it well and staple down from the middle to the outside corners. The corners need to done in little pieces to get it to lay the best. Stretch and fold it around the corners, stapling as you go. Lastly is the sides. I go from side to side and staple to make sure I’m not pulling too much on one side.
If you have a print that needs to be centered on your chair, you will need some patience and prayer. Just kidding…but not really. 😉 It will require a lot of flipping of the base to make sure it doesn’t go offset as you stretch the fabric in place.
I did 8 chairs in about 4-5 hours one night. It definitely takes more time to remove those tops and the staples. If you don’t have to do that, then it won’t be so much time.

Chair pillows
Now, normally I wouldn’t make these, as I hadn’t made them before. I had extra fabric, and these chairs are a bit deep. A pillow to sit against isn’t such a bad idea, so I cut up enough fabric for about 4 pillows to place on the extra chairs next to the buffet. This is just an easy project, as it is square. Always make the pillow cover about 2″ smaller than the base pillow form to keep it tight.

Window Sheers
This is something that it is cheaper to buy than to make if you need to get standard sizes and colors. If I were to just go with cream, I would have hauled myself off to Target to get them. I thought cream would be too boring and matchy matchy for the windows, so I purchased 4 yards of this patterned brown.
I made them longer than the window, so they are actually about 6-8 inches taller than the window. This helps to elongate the room. This was pretty wide fabric, and I ended up sewing it opposite the grain, so I would have enough fabric for the height I wanted.

Sewing curtains is about my least favorite thing ever, to be clear. So boooooring.
Now I needed to add something decorative to them, since the sheers were too plain. I just added a simple panel to the top of the sheers that was long enough to cover the wall at the top with a few extra inches.

Artwork
I made a trip to our bedroom to get the wall decorations above the chairs.

We have had these two sketches above our bed, where no one but us could see them, for several years. I figured we would switch it up a bit and move things around.
We need a few more things to add interest to the walls, so I will be on the lookout for that. I don’t want to buy something I sort of like, so I will wait until I find something I love.
This blank wall is going to have a big feather metal frieze that is on it’s way to us. I will update with a photo of that when I get it.

Our updated dining room still has a bit of our bent towards historical fantasy artwork, but with a modern edge to it.
I quite like the new room. It is a lot lighter and more airy than it was before. A bit more elegant, too. This is generally just a room we walk through, but it is also where I fold laundry. Nothing like a big table for throwing clean laundry on it!


Love the new look, brightens up the room!
Thanks, Jamie! Yes, it totally brightened up the room. I love how it turned out!