Awhile back I came across this picture, or a derivation of it, on Pinterest:

There are quite a few pictures of it now, some as low as $20 for the knock off copy of the original one. This is one of those instances where you could definitely buy it for less, but I’m sure the fabric quality and fit would be sub-par.
I also wanted to make a few changes. I am not a fan of patch pockets, and the hood I wanted to turn into a cowl. I’m not a huge hood fan for the most part. They just seem to be too much extra fabric on the back of my neck.
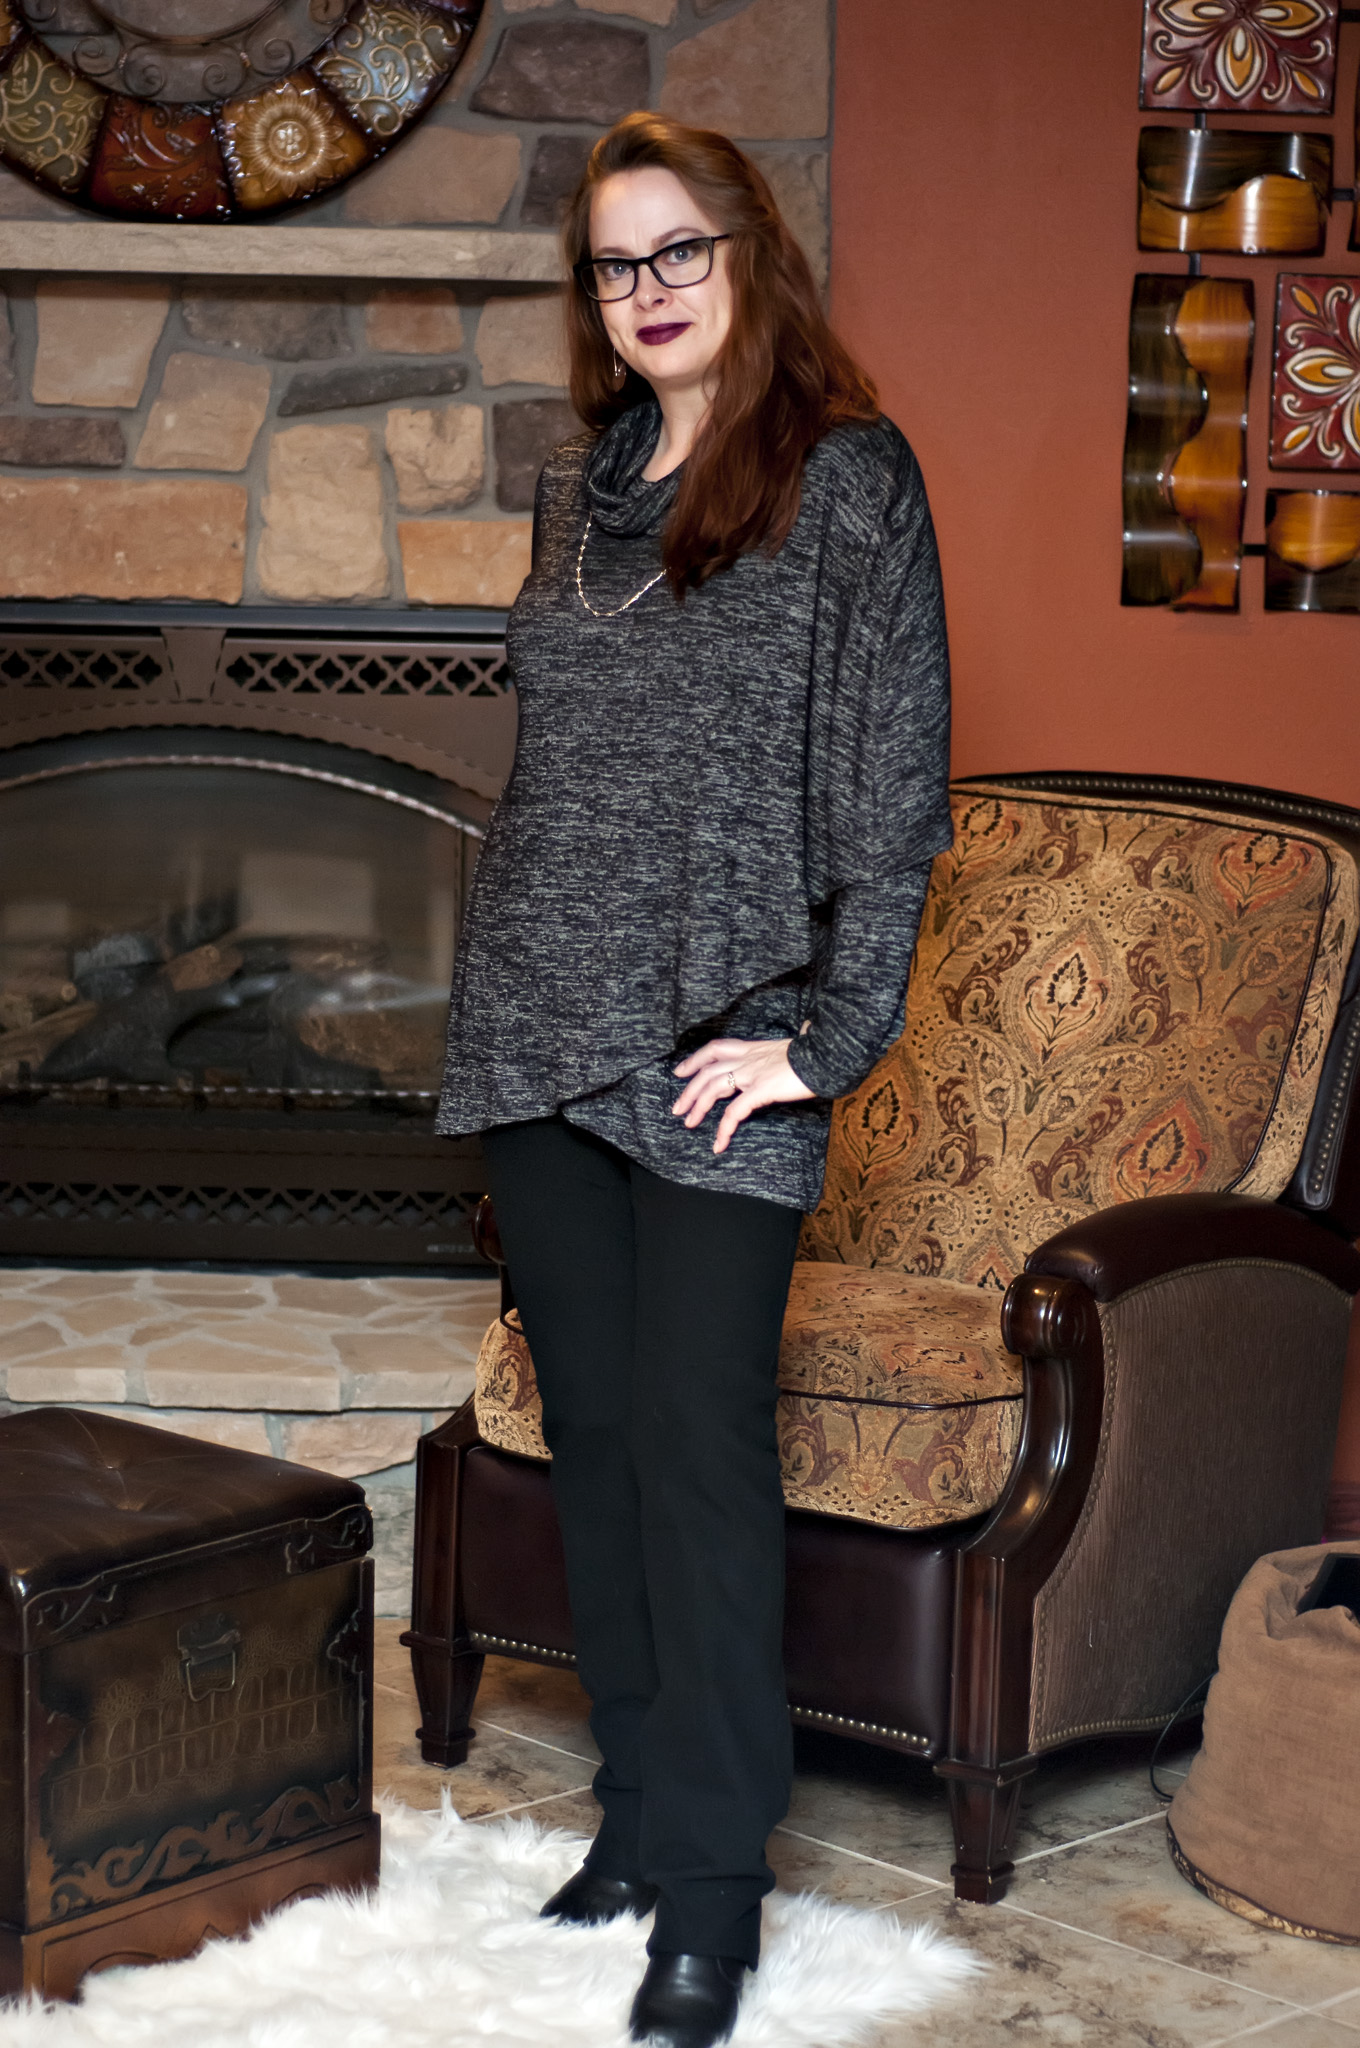
To draft this I started with a base pattern, and the one I chose was the Wardrobe by Me Basic Top. From there, I cut the back on the fold with some shaping to make it more fitted and take out the pooling at mid-back and then lengthened it with a curved seam. Next I took the front piece and traced it out so it was a full front. I then cut the curve in the hemline. I took that piece, flipped it to the other side and then traced it out with adding some width at the hemline and extending the shoulder out for the cape on one side. I took that piece and traced out a matching smaller cape that went across the back. The arms are basically the same, with an addition of a doubled up cuff at the 3/4 cut line, and the cowl is just a rectangle that extends from the neckline.
Here are the pieces. There are basically two back pieces and two front pieces, plus the arm pieces and the cowl that are missing. You would need to flip one of the front pieces, since they need to be opposite each other:

This is my first draft from a lightweight sweater knit. There were a few errors in the construction, so I noted those as I moved forward.


I wanted to make a few changes from the original draft. I did more of a curve for the cape down the arm, and that just bunched a bit, so I straightened out that line. I purchased another lightweight sweater knit and this one went together much easier the second time around.


The fabric needs to be of a thinner weight, since there is one point where there are 4 layers in the seam. A serger would have a hard time going through that.
Construction is basically:
- Sew the back seam together.
- Sew the shoulder seams together, making sure you have the two back and two fronts, pulling the curved seam out of the way. You won’t have 4 layers on each shoulder, just on one.
- Sew the curved shoulder seam.
- Sew the side seam with only two layers.
- Serge the edges, in anticipation of hemming. I generally serge the edge and then turn up, iron and stitch down with a lightning bolt stitch since I don’t have a coverstitch machine.
- Sew together the side, layering the 4 seams together, and turning under the hemlines for the ones that need to be stitched. This is important to make sure as you are layering them that you are looking at which ones need to be hemmed yet.
- Hem
- Sew the arms together. I have a doubled up cuff on these sleeves that I fold over. You need to do a set in sleeve for this pattern, too, so it all has to be sewed up.
- Sew the arms into the body.
- Sew up the side of the cowl, and then sew into the opening.
- Done!

I also made the black pants I am wearing here. They are my own pattern in a stretch twill. Unfortunately the twill didn’t have enough stretch to make it over my hips, so I took off the waistband and replaced it with a heavy lycra knit. A pretty comfy outfit to wear to work!


I may make one out of fleece yet, but not sure. I will have to buy some lightweight fleece for it otherwise I don’t think it will lay very well.
Next up for my projects – a leather wallet for my son. That will be mostly hand-sewn.


Love the design. So feminine and stylish. You have talent Stacy !
Thank you so much! 🙂