This is one of those easier to make leather bags. I have made three of these so far. The first two I made were not as wide, and I am having a bit of a problem getting my 5 x 7 journal in it, so I decided to make this one a bit bigger.
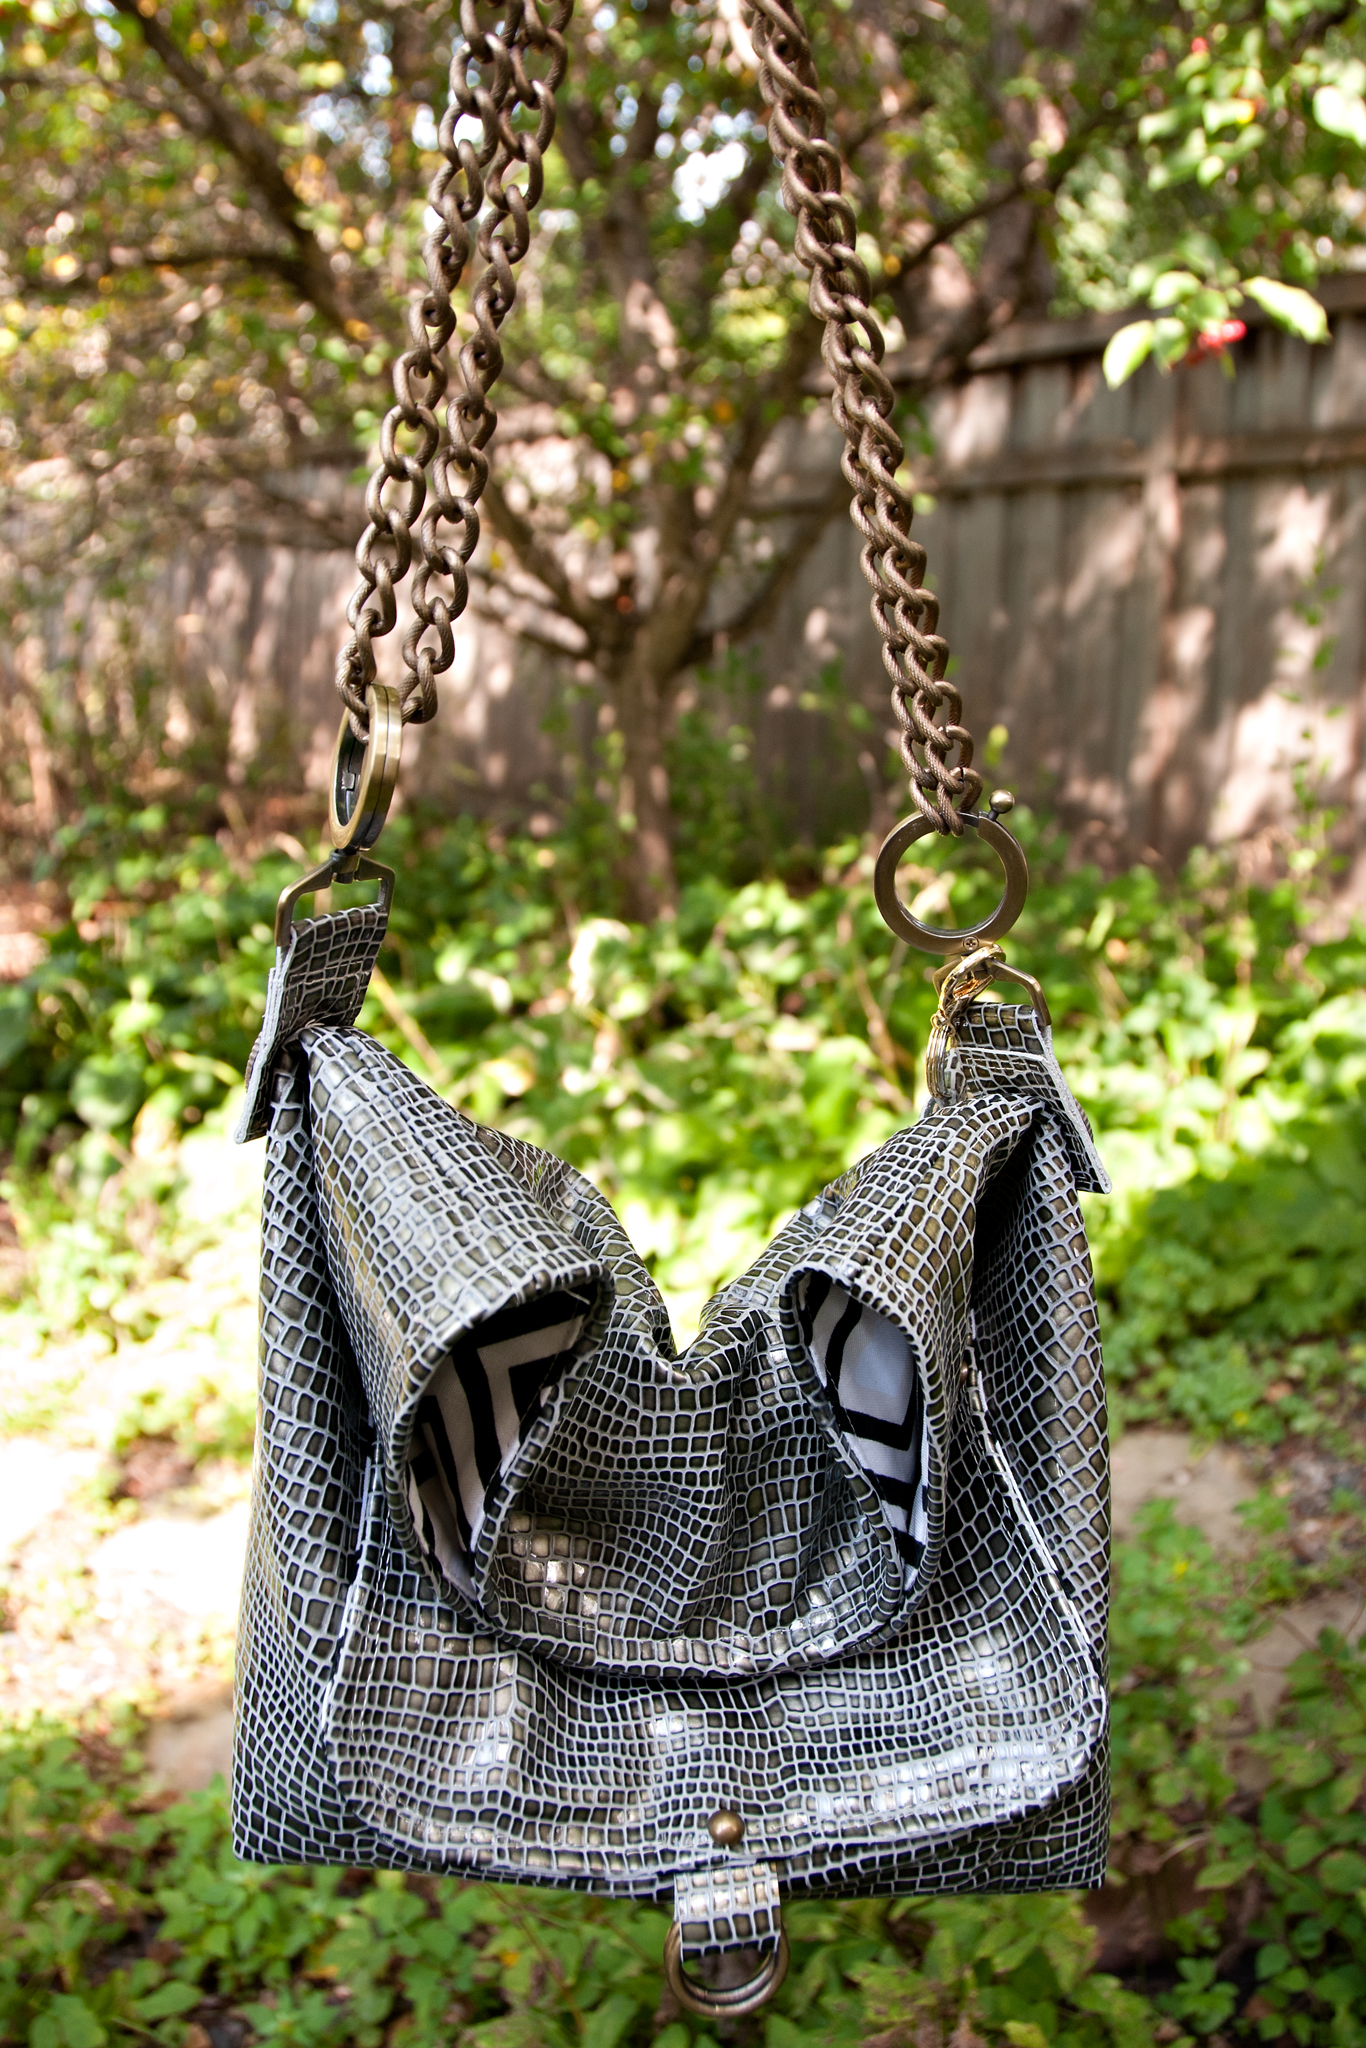
I purchased this leather and the Robert Kaufman canvas locally. The hardware was from various places. The conchos and rivets were from Tandy Leather. The rings were from Pacific Trimming and the chain was from the local fabric store.


This handbag is a great size for just a simple carry around bag. You can add pockets to the exterior or leave it plain. There isn’t a lot of zippers and multiple pieces. Just a simple exterior with a pocket on the outside and pocket on the inside.
I have made this bag in both pleather/vegan leather and leather.


Measurements
The measurements for the pieces are as follows:
- 2 pieces “17” wide by “17.5 tall of the exterior, with matching pieces of the lining and interfacing. The cream and silver bags above are 13″ wide. This piece can be cut in two pieces and joined at the bottom, as it will be difficult cutting leather in one continuous piece. Cut a 3″x3″ piece out of the bottom two corners for a fatter bag. Do 2″ x 2” for a taller, narrower bag.
- You can also add an extra piece 17.5″ wide by 7″ tall (optional). This piece is the extra piece on the bottom of the bag, and is purely decorative. You can add this or leave it off. Cut a 3″x3″ piece out of the bottom two corners.
- 1 piece 2.5″ wide by 22″ long for the handle. I would also add an interfacing piece to this for softer leathers. If you want to do a chain like the one I have on this bag, it is 48″ long. I doubled it up, so it is around 24″ in length.
- 2 pieces 1.5″ wide by 6″ long for the side pieces to attach the rings to the bag.
- 1 piece of lining and 1 piece of interfacing 11″ wide by 10″ high (or 5″ high on the fold). This is the interior pocket.
- 1 piece of leather and 1 piece of lining 9.5″ wide by 7″ high. Round the bottom corners. This is the exterior pocket (optional).
- 1 magnetic snap
- 2 rings (these are 1.5″ rings)
- Rivets (optional)
- Bag feet (optional)
- Peltex interfacing and foam for bottom of bag (optional)
As you can see, there are some options that you can leave off this bag. If you just want to do a simple slouchy bag, you don’t need to add everything. If you have a stiffer leather or pleather, you don’t need all the interfacing. I didn’t interface the silver one, which was marine vinyl. It was fairly stiff, so it didn’t need anything added to it. I add the interfacing to the lining and not the leather/pleather.
I would suggest clover clips, paper clips or binder clips for this project. You don’t pin leather. You need a leather needle and I like to use my teflon foot, but walking feet are good, too, I hear. Here is a blog post I put together on sewing tips for leather.
Let’s begin.
Construction
-
-
- Adhere the interfacing to the lining and pocket pieces.
- Put pocket piece right sides together and stitch close with a hole for turning. Turn the pocket and iron flat, with the hole pressed.
- Topstitch the top of the pocket.
- Place pocket in the middle of the lining with the hole at the bottom. Stitch around the outside onto the lining. Next stitch 3 pockets into it, with a middle pen pocket.

- Stitch up the side seams of the lining. I use a generous 5/8″ seam allowance. Stitch the bottom of the lining, but leave a 4″ opening at the bottom.
- Box the bottom of the bag. For a fatter bag do 5-6″, or for a taller one do 4″.

- Mark 2″ from the top of the bag in the middle for the magnet. Do this on both sides. Take the magnet back as a guide and cut through the lining where the prongs will go through. Take a piece of heavy interfacing and make two squares of it (you could even use a piece of leather. You just need something to give it some protection and heft). Cut in the same place as the lining. Attach the magnets with the interfacing between the magnet front and back.

- Take your leather pocket piece and lining and stitch around it, leaving a 3″ opening to turn it. Clip the corners and turn. You will need to fold the edges of the corners in and turn them in order to get nice corners. Press it with a pressing cloth, pressing the opening seam flat. Place on the bag (Wondertape or glue will help keep it in place), making sure the open seam is on the bottom. Topstitch onto the bag. Add rivets if desired.
- Stitch up the side seam, and box the corners the same amount as the lining.
- Take your rings, put the leather pieces through it and close the seam.

- Turn the edges under and hold in place with clips, making sure the seam is underneath.
- Go down 4″ on the side seams of the bag. Using glue or Wondertape to place the tabs on the bag. Sew around the edge. You can place a decorative rivet here when done.

- Put the lining and the outer bag together with right sides together. Clip the top seam together and topstitch. Turn the bag through the hole in the lining. Topstitch the top of the bag.

- Take your strap leather, and put it in the rings. Make sure the strap top is on the top and the seam will be on the bottom. You are doing the same here as how the rings were attached. Turn the edges under to meet in the middle, clip and topstitch all the way around. On one bag, I just used a chain.
-
You are all done! You can make a simple bag to start out with, or make it all up. Add decorative rivets, conchos, etc., if desired.

You can even make a decorative tassel out of the leftover leather. Here is a tutorial for making them.
Hope this was helpful. If you end up making one of these, let me know!


Comments are closed.